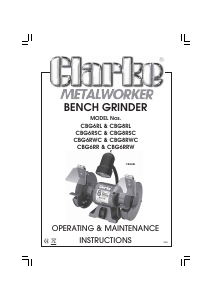
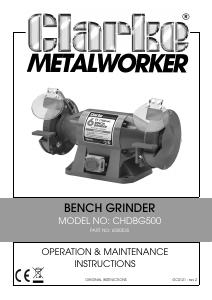
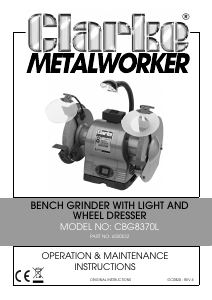
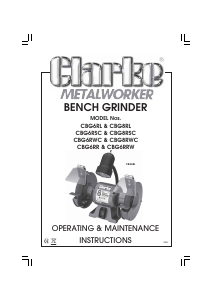
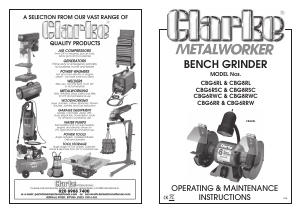
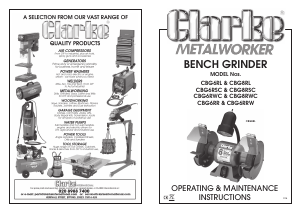
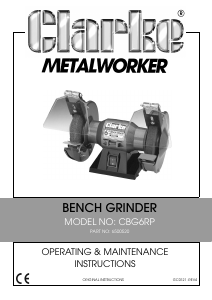
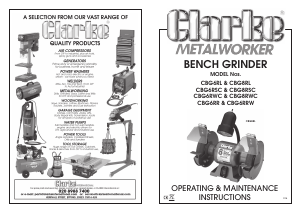
Handleiding Clarke CBG6RSC Tafelslijpmachine

Handleiding voor je Clarke CBG6RSC Tafelslijpmachine nodig? Hieronder kun je de handleiding gratis bekijken en downloaden als PDF in het Nederlands en/of Engels. Dit product heeft 1 veelgestelde vraag, 0 comments en heeft 0 stemmen. Is dit niet de handleiding die je zoekt, neem dan contact met ons op.

Is je product kapot en biedt de handleiding geen oplossing meer? Dan kun je voor reparatie gratis terecht bij Repair Café.

Handleiding

Loading…

ELECTRICAL CONNECTIONS
Connect the mains lead to a standard, 230 volt (50Hz) electrical supply through a
fused good quality 13 amp BS 1363 plug, or a suitable fused isolator switch.
WARNING: THIS APPLIANCE MUST BE EARTHED
IMPORTANT: The wires in the mains lead are coloured in accordance with the
following code:
Green & Yellow —- Earth
Blue —- Neutral
Brown —- Live
As the colours of the flexible cord of this appliance may not correspond with the
coloured markings identifying terminals in your plug, proceed as follows:
Connect GREEN & YELLOW cord to terminal marked with a letter “E” or Earth
symbol ‘ ’ or coloured GREEN or GREEN & YELLOW.
Connect BROWN cord to terminal marked letter “L” or coloured RED.
Connect BLUE cord to terminal marked letter “N” or coloured BLACK.
We recommend that this unit is fitted with a Residual Current Device (RCD).
FUSE RATING
The fuse in the plug for this appliance must be rated at 5 amps
IMPORTANT NOTICE
If this appliance is fitted with a plug which is moulded on to the electric cable (i.e.
non rewirable) please note:
1. This plug must be thrown away if it is cut from the electric cable. There is a
danger of electric shock if it is subsequently inserted in a socket outlet.
2. Never use the plug without the fuse cover fitted.
3. Should you wish to replace a detachable fuse carrier, ensure that the correct
re-placement is used (as indicated by marking or colour code).
4. Replacement fuse covers can be obtained from your local dealer, or an
electrical stockist.
5. The fuse in the plug must be 5 Amps, and any replacement must be ASTA
approved to BS1362.
4
brackets from time to time. Adjustments can be made by loosening the mounting
screw, and positioning the bracket accordingly, remembering to re-tighten the
screw once adjustment is complete.
The see-through Eye Shields allow the user to see the operation clearly, and to work
precisely. The eye shields can be adjusted on their pivots to suit the operator.
IMPORTANT: Even though Eye Shields are fitted, you should nevertheless, ALWAYS
wear safety goggles when operating a grinding machine.
B. TOOL REST ADJUSTMENT
The appropriate adjustment of the tool rests provides the operator with a correct
working angle and a firm and efficient base for working. A gap of approx. 1/16"
between the wheel and tool rest should be maintained at all times. Due to wear on
the grinding wheel, it is necessary to adjust the tool rests from time to time.
Adjustments can be made by loosening the mounting screws, and positioning the
tool rest accordingly, remembering to re-tighten the screws once adjustment is
complete.
C. CHANGING THE GRINDING / WIRE WHEEL
1. Remove outside wheel cover, by unscrewing the cover retaining bolts, and
slacken the Tool Rest and Spark Arrester mounting screws.
2. Holding the wheel firmly, remove the nut and flange using the correct size
spanner, noting that the left wheel nut carries a left hand thread.
IMPORTANT: Always wear a heavy duty glove to hold a wire wheel.
3. Take off the used wheel and replace with a new one, ensuring the blotter is in
place between the wheel and flange. Do not overtighten the nut - holding
the wheel with your hand will enable you to apply sufficient force to tighten
the nut effectively.
4. Re-assemble, steps A & B as detailed above, ensuring that there is a good
balanced rotation of the wheel.
5. Switch on the machine and allow the wheel to rotate freely, for at least 1
minute.
D. DRESSING THE WHEEL
It will be necessary from time to time to dress the wheel, to obtain a true working
surface. This should be done ONLY with an approved dressing tool, which can be
obtained from your CLARKE dealer, quoting Model Number GWD-1. Part No.
6501120.
E. OPERATING THE LAMP (CBG6RL and CBG8RL only)
The lamp is provided with a rotary type switch located at the rear of the lamp
7
Download de handleiding in het Nederlands en/of Engels (PDF, 2.59 MB)
(Denk aan het milieu en print deze handleiding alleen als dat echt noodzakelijk is)

Loading…

Meer over deze handleiding

We begrijpen dat het prettig is om een papieren handleiding te hebben voor je Clarke CBG6RSC Tafelslijpmachine. Je kunt de handleiding bij ons altijd downloaden en daarna zelf printen. Indien je graag een originele handleiding wilt hebben, raden we je aan contact op te nemen met Clarke. Zij kunnen wellicht nog voorzien in een originele handleiding. Zoek je de handleiding van Clarke CBG6RSC Tafelslijpmachine in een andere taal? Kies op de homepage je taal naar keuze en zoek daarna op het modelnummer om te zien of we deze beschikbaar hebben.

Specificaties

Merk Clarke
Model CBG6RSC
Categorie Tafelslijpmachines
Bestandstype PDF
Bestandsgrootte 2.59 MB

Alle handleidingen voor Clarke Tafelslijpmachines
Meer handleidingen voor Tafelslijpmachines

Veelgestelde vragen over Clarke CBG6RSC Tafelslijpmachine

Ons supportteam zoekt dagelijks naar nuttige productinformatie en antwoorden op veelgestelde vragen. Als er onverhoopt toch een onjuistheid tussen onze veelgestelde vragen staat, laat het ons dan weten via het contactformulier.

Kan ik elektrisch gereedschap in een schuur of garage opbergen? Geverifieerd

Over het algemeen kunt u elektrisch gereedschap in een schuur of garage opbergen, ook als het daar soms vriest. Voor de levensduur van het elektrisch gereedschap is het echter beter om het op een droge plaats zonder grote temperatuurschommelingen op te slaan. In een schuur of garage kunnen door temperatuurverschillen condensvorming ontstaan ​​waardoor roest kan ontstaan. Bovendien gaan gereedschappen die op batterijen werken korter mee en laden ze minder goed op bij zeer lage temperaturen. Om er zeker van te zijn hoe uw elektrisch gereedschap moet worden opgeborgen, leest u altijd aandachtig de gebruikershandleiding.

Ik vind dit nuttig (2) Lees meer

Beoordeling

Laat ons weten wat je van de Clarke CBG6RSC Tafelslijpmachine vindt door een beoordeling achter te laten. Wil je je ervaringen met dit product delen of een vraag stellen? Laat dan een bericht achter onderaan de pagina.
Bent u tevreden over de Clarke CBG6RSC Tafelslijpmachine?
Ja Nee
Beoordeel dit product als eerste
0 stemmen

Praat mee over dit product

Laat hier weten wat jij vindt van de Clarke CBG6RSC Tafelslijpmachine. Als je een vraag hebt, lees dan eerst zorgvuldig de handleiding door. Een handleiding aanvragen kan via ons contactformulier.

Handleiding Clarke CBG6RSC Tafelslijpmachine

Gerelateerde producten

Gerelateerde categorieën