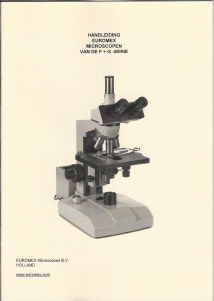
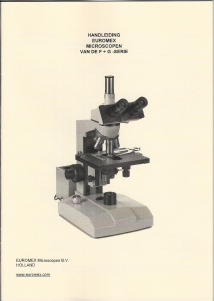
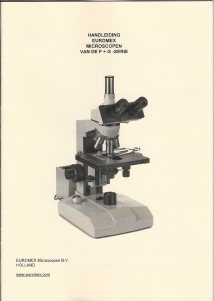
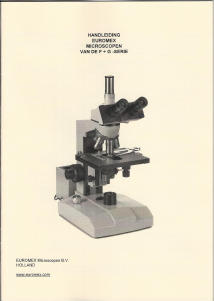
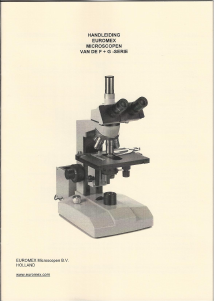
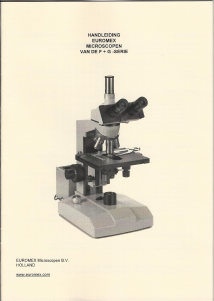
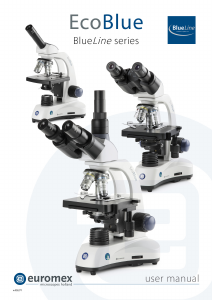
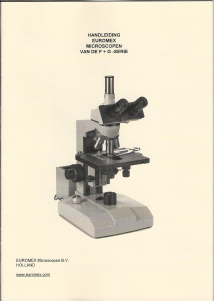
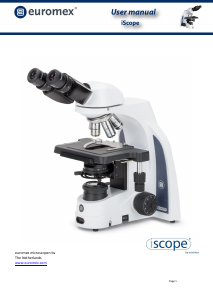
Handleiding Euromex iScope Microscoop

Handleiding voor je Euromex iScope Microscoop nodig? Hieronder kun je de handleiding gratis bekijken en downloaden als PDF in het Nederlands en/of Engels. Dit product heeft 0 veelgestelde vragen, 0 comments en heeft 0 stemmen. Is dit niet de handleiding die je zoekt, neem dan contact met ons op.

Is je product kapot en biedt de handleiding geen oplossing meer? Dan kun je voor reparatie gratis terecht bij Repair Café.

Handleiding

Loading…

Page 6
Assembling Steps
Euromex Microscopes will always try to keep the number of assembly steps for their customers as
low as possible but in some cases there are some steps to be taken. The steps mentioned below
are often not necessary but described for your convenience nonetheless.
Mounting the objectives
1. Rotate the coarse focusing knob to lower the stage to the lowest position.
2. Install the objectives into the objective nosepiece from the lowest magnification to the highest
in a clockwise direction from the rear side of the microscope. When using the microscope, start
using the low magnification objective (4X or 10X) to search for specimen and focus, and then
continue with high magnification objective to observe.
The microscope head
The standard iScope series configuration is supplied with the head assembled. However, if your
order contains the fluorescence it should be mounted first. The dovetail on the bottom side of
these parts fits into the slot on the top side of the other parts.
Placing the eye pieces
1. Remove the cover of eyepiece tube.
2. Insert the eyepiece into the eyepiece tube
The eyeshades
Each eyepiece has its rubber eyeshade. This prevents damage to the lens, and prevents stray light.
The eyeshade can simply be slipped over the eyepiece.
Connecting the power cord
The iScope series microscopes supported a wide range of operating voltages: 100 to 240V. Please
use a grounded power connection.
1. Make sure the power switch is off before connecting.
2. Insert the connector of power cord into the iScope power socket, and make sure it
connects well.
3. Insert the other connector into the mains socket, and make sure it connects well.
Don’t use bend or twist the power cord, it will get damaged. Using the special cord supplied by
Euromex. If it’s lost or damaged, choose one with the same specifications.
Locking the eyepieces on iScope
Download de handleiding in het Nederlands en/of Engels (PDF, 1.35 MB)
(Denk aan het milieu en print deze handleiding alleen als dat echt noodzakelijk is)

Loading…

Meer over deze handleiding

We begrijpen dat het prettig is om een papieren handleiding te hebben voor je Euromex iScope Microscoop. Je kunt de handleiding bij ons altijd downloaden en daarna zelf printen. Indien je graag een originele handleiding wilt hebben, raden we je aan contact op te nemen met Euromex. Zij kunnen wellicht nog voorzien in een originele handleiding. Zoek je de handleiding van Euromex iScope Microscoop in een andere taal? Kies op de homepage je taal naar keuze en zoek daarna op het modelnummer om te zien of we deze beschikbaar hebben.

Specificaties

Merk Euromex
Model iScope
Categorie Microscopen
Bestandstype PDF
Bestandsgrootte 1.35 MB

Alle handleidingen voor Euromex Microscopen
Meer handleidingen voor Microscopen

Beoordeling

Laat ons weten wat je van de Euromex iScope Microscoop vindt door een beoordeling achter te laten. Wil je je ervaringen met dit product delen of een vraag stellen? Laat dan een bericht achter onderaan de pagina.
Bent u tevreden over de Euromex iScope Microscoop?
Ja Nee
Beoordeel dit product als eerste
0 stemmen

Praat mee over dit product

Laat hier weten wat jij vindt van de Euromex iScope Microscoop. Als je een vraag hebt, lees dan eerst zorgvuldig de handleiding door. Een handleiding aanvragen kan via ons contactformulier.

Handleiding Euromex iScope Microscoop

Gerelateerde producten

Gerelateerde categorieën