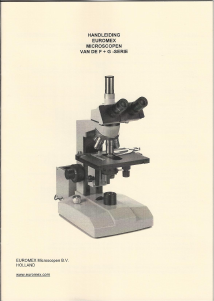
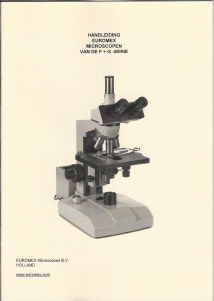
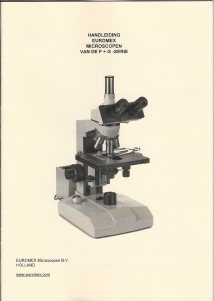
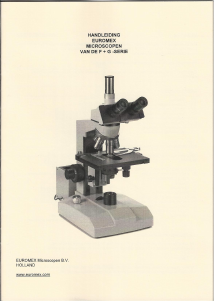
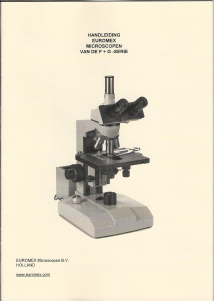
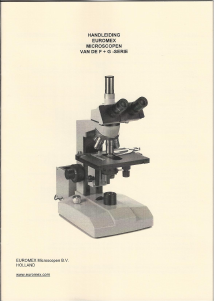
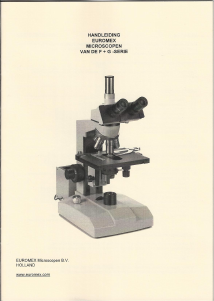
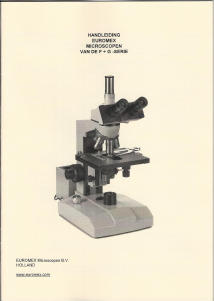
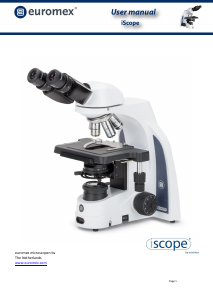
Handleiding Euromex iScope Microscoop

Handleiding voor je Euromex iScope Microscoop nodig? Hieronder kun je de handleiding gratis bekijken en downloaden als PDF in het Nederlands en/of Engels. Dit product heeft 0 veelgestelde vragen, 0 comments en heeft 0 stemmen. Is dit niet de handleiding die je zoekt, neem dan contact met ons op.

Is je product kapot en biedt de handleiding geen oplossing meer? Dan kun je voor reparatie gratis terecht bij Repair Café.

Handleiding

Loading…

Page 9
Using a binocular (or trinocular) tube is less tiring for the eyes than the use of a monocular tube. In
order to obtain a smooth “compound” image, one should go through the below steps.
The correct interpupillary distance is reached when one round image is seen in the field of view
(see image below). This distance can be set by either pulling the tubes towards each other or
pulling them from each other. This distance is different for each observer and thus should be set
individually. When more users are working with the microscope it is recommended to remember
your interpupillary distance for a quick set up during new microscopy sessions. The iScope’s
swiveling eyepiece tube can be rotated 360º. You can select corresponding eye point height
according to your own preference.
Field of view before Field of view after
adjustment adjustment
The correct eye point
The eye point is the distance from the eyepiece to the user’s pupil. To obtain the correct eye
point, move the eyes towards the eyepieces until a sharp image is reached at a full field of view.
Adjusting the diopter
Using a binocular (or trinocular) tube is less tiring for the eyes than the use of a monocular tube. In
order to obtain the right interpupillary setting, one should go through the below steps.
Turn the diopter adjustment ring of the left eyepiece tube until the scale shows the same
reading as on the indicator.
Close the right eye and focus the left tube by means of the coarse- and fine adjustment
knobs
Close the left eye and focus the right tube with the diopter adjustment ring.
This procedure should be followed by each individual user. When more users are working with the
iScope microscope it is recommended to remember your diopter setting for a quick set up during
new microscopy sessions.
Abbe condenser
Beneath the object stage an Abbe condenser N.A. 12.5 is mounted. The condenser can be adjusted
in height by means of a rack and pinion movement and knob. With this one can focus the light on
Download de handleiding in het Nederlands en/of Engels (PDF, 1.35 MB)
(Denk aan het milieu en print deze handleiding alleen als dat echt noodzakelijk is)

Loading…

Meer over deze handleiding

We begrijpen dat het prettig is om een papieren handleiding te hebben voor je Euromex iScope Microscoop. Je kunt de handleiding bij ons altijd downloaden en daarna zelf printen. Indien je graag een originele handleiding wilt hebben, raden we je aan contact op te nemen met Euromex. Zij kunnen wellicht nog voorzien in een originele handleiding. Zoek je de handleiding van Euromex iScope Microscoop in een andere taal? Kies op de homepage je taal naar keuze en zoek daarna op het modelnummer om te zien of we deze beschikbaar hebben.

Specificaties

Merk Euromex
Model iScope
Categorie Microscopen
Bestandstype PDF
Bestandsgrootte 1.35 MB

Alle handleidingen voor Euromex Microscopen
Meer handleidingen voor Microscopen

Beoordeling

Laat ons weten wat je van de Euromex iScope Microscoop vindt door een beoordeling achter te laten. Wil je je ervaringen met dit product delen of een vraag stellen? Laat dan een bericht achter onderaan de pagina.
Bent u tevreden over de Euromex iScope Microscoop?
Ja Nee
Beoordeel dit product als eerste
0 stemmen

Praat mee over dit product

Laat hier weten wat jij vindt van de Euromex iScope Microscoop. Als je een vraag hebt, lees dan eerst zorgvuldig de handleiding door. Een handleiding aanvragen kan via ons contactformulier.

Handleiding Euromex iScope Microscoop

Gerelateerde producten

Gerelateerde categorieën