Handleiding Hunter 19215 Bluff View Lamp

Handleiding voor je Hunter 19215 Bluff View Lamp nodig? Hieronder kun je de handleiding gratis bekijken en downloaden als PDF in het Nederlands en/of Engels. Dit product heeft 7 veelgestelde vragen, 0 comments en heeft 0 stemmen. Is dit niet de handleiding die je zoekt, neem dan contact met ons op.

Is je product kapot en biedt de handleiding geen oplossing meer? Dan kun je voor reparatie gratis terecht bij Repair Café.

Handleiding

Loading…

INSTALLATION INSTRUCTIONS
INSTRUCCIONES DE INSTALACIÓN/ INSTRUCTIONS D’INSTALLATION
For Models:
Para los Modelos:
Pour les Modèles:
Here are the
tools you’ll
need to
complete your
installation:
Estas son las
herramientas
que usted
necesitará para
completar su
instalación:
Voici les outils
dont vous
aurez besoin
pour réaliser
l’installation:
Ladder
Escalera
Échelle
Pliers
Alicates
Pince
Wire Strippers
Pelacables
Pince à dénuder
READ AND SAVE THESE INSTRUCTIONS
These instructions are provided for your safety. It
is very important that they are read carefully and
completely before beginning installation of the
lighting xture.
LEA Y GUARDE ESTAS INSTRUCCIONES
Estas instrucciones se proporcionan para su
seguridad. Es muy importante leerlas detenid-
amente y completamente antes de comenzar la
instalación de la lámpara.
LISEZ ET CONSERVEZ CES INSTRUCTIONS
Ces instructions sont fournies pour votre sécurité.
Il est très important de les lire attentivement dans
leur intégralité avant d’entreprendre l’installation
du luminaire.
Fixture weight ±2 lbs:
Peso ±2 lb:
Poids xe ±2 lbs:
WARNING
All wiring must be in accordance with national
and local electrical codes ANSI/NFPA 70. If you
are unfamiliar with wiring or in doubt, consult a
qualied electrician.
• To avoid possible electrical shock, before
installing your light xture, disconnect the power
by turning off the circuit breakers to the outlet box
associated with the wall switch location.
The lighting xture must be grounded. If the
ground wire for the installation site is not present,
immediately STOP installation and consult a
qualied electrician.
Todo el cableado debe realizarse de acuerdo con
los códigos eléctricos locales y nacionales ANSI/
NFPA 70. Si no está familiarizado con el cableado,
o si tiene duda, consulte a un electricista calicado.
• Para evitar una posible descarga eléctrica, antes
de instalar su lámpara, desconecte la energía
apagando los interruptores automáticos (breakers)
que alimentan la caja de salida asociada con la
ubicación del interruptor de pared.
ADVERTENCIA
Lappareil d’éclairage doit être mis à la terre.
Si le l de terre du lieu d’installation n’est pas
présent, ARRÊTEZ immédiatement l’installation et
consultez un électricien qualié.
AVERTISSEMENT
Tout le câblage doit être conforme aux codes
électriques nationaux et locaux en vigueur et à la
norme ANSI/NFPA70. Si vous n'avez pas l'habitude
de faire ce câblage ou en cas de doute, adressez-
vous à un électricien qualié.
• Pour éviter tout choc électrique, avant d’installer
le luminaire, coupez le courant en éteignant les
disjoncteurs de la boîte électrique associée à
l’interrupteur mural.
Le luminaire doit être mis à la terre. Si le l
de terre du lieu d’installation n’est pas présent,
ARRÊTER immédiatement l’installation et
consulter un électricien qualié.
Part #/Pieza #/Pièce #
Hardware Service Kit/Kit De Mantenimiento Del Equipo/Trousse De
Maintenance Quincaillerie
Finish/Finish/FiniModel/Modelo/Modèle
Glass/Domo De Vidrio/Verre
Type/Tipo/Type
©2021 Hunter Fan Co.
Light Pendant
Luz Colgante
Lumière Chaînette
Part #/Pieza #/Pièce # Model/Modelo/ Modèle
ENGLISH
NOTICE
In order to use a 12in rod by
itself you must rst remove
the post from the 6in rod and
install it on one of the ends of
the 12in rod.
Screwdriver
Destornilladore
Tournevis
Twist or tape wire ends
together to make it
easier to pass them
through the downrods.
Threaded post may also
be removed for easier
wire access.
Hunter Pro Tip:
J
I
K
N
M
L
A
D
G
H
B
C
E
F
O
19072
19215
19216
19217
Bluff View
KD83801214
Brushed Nickel/Níquel Pulido/
Nickel Brossé
19072 19215
19216 19217
KD51901147
Clear Halophane Glass/Vidrio
Transparente Tipo Holophane/
Verre Holophane Transparent
19072 19215
19216 19217
ML118
R_071321
12.15 lbs (5.51 kg)
1
1
1
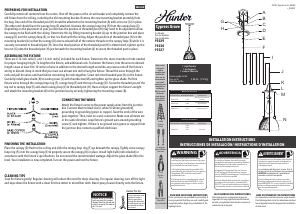
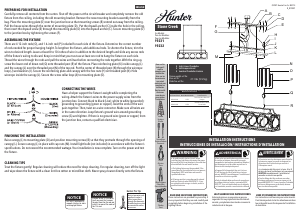
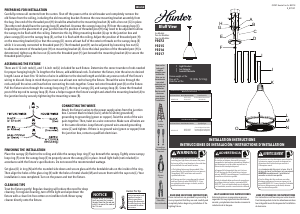
FINISHING THE INSTALLATION
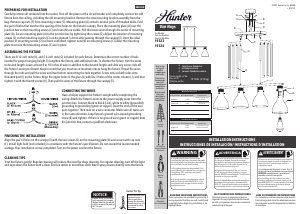
CONNECTING THE WIRES
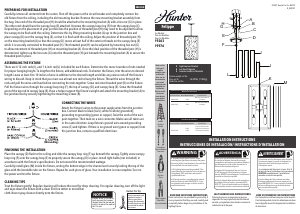
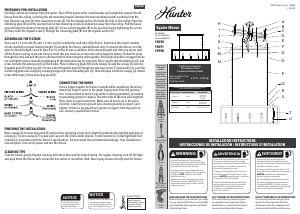
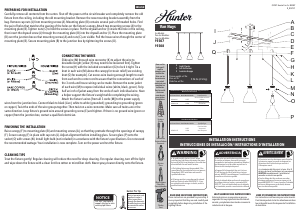
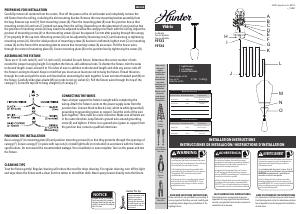
ASSEMBLING THE FIXTURE
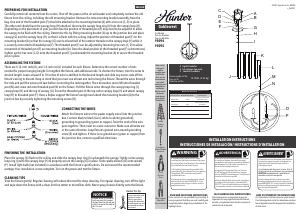
PREPARING FOR INSTALLATION
CLEANING TIPS
Treat the xture gently! Regular cleaning will reduce the need for deep
cleaning. For regular cleaning, turn off the light and wipe down the
xture with a clean lint-free cotton or microber cloth. Never spray
cleaner directly onto the xture.
Carefully remove all contents from the carton. Shut off the power at the circuit breaker and completely remove the
old xture from the ceiling, including the old mounting bracket. Remove the new mounting bracket assembly from
the bag. One end of the threaded post (H) should be attached to the mounting bracket (A) with a hex nut (G) in place.
The other end should have the canopy loop (E) attached. Unscrew the canopy loop ring (F) from the canopy loop (E).
Depending on the placement of your junction box the position of threaded post (H) may need to be adjusted to allow
the canopy to be ush with the ceiling. Determine this by lifting mounting bracket (A) up to the junction box and
place canopy (D) over the canopy loop (E), so that it is ush with the ceiling. Adjust the position of threaded post (H)
on the mounting bracket (A) so that the canopy (D) covers at least half of the exterior threads on the canopy loop (E)
while it is securely connected to threaded post (H). The threaded post (H) can be adjusted by loosening hex nut (G)
to allow movement of threaded post (H) on mounting bracket (A). Once the ideal position of the threaded post (H) is
determined, tighten up the hex nut (G) onto the threaded post (H) just beneath the mounting bracket (A) to secure the
threaded post in place.
There are 4 12-inch rods (I), and 1 6-inch rod (J) included for each xture. Determine the correct number of rods needed
for proper hanging height. To lengthen the xture, add additional rods. To shorten the xture, trim the wires to desired
length. Leave at least 8 to 10 inches of wire in addition to the desired length and slide any excess rods off the xture’s
wiring to discard. Keep in mind that you must use at least one rod to hang the xture. Thread the wires through the
rods and pull the wires until taut before connecting the rods together. Screw rod onto threaded post (K) on the xture.
Pull the xture wires through the canopy loop ring (F), the top of canopy (D), and canopy loop (E). Screw the threaded
post of the top rod to canopy loop (E). Have a helper support the xture’s weight and attach the mounting bracket (A) to
the junction box by securely tightening the mounting screws (B).
Attach the xture’s wires to the power supply wires from the junction
box. Connect black to black (Live); white to white (grounded);
grounding to grounding (green or copper). Twist the ends of the wire
pairs together. Then, twist on a wire connector. Make sure all twists are
in the same direction. Loop xture’s ground wire around grounding
screw (C) and tighten. If there is no ground wire (green or copper) from
the junction box, contact a qualied electrician.
Place the canopy (D) ush to the ceiling and slide the canopy loop ring (F) up beneath the canopy. Tightly screw canopy
loop ring (F) onto the canopy loop (E) to properly secure the canopy (D) in place. Install light bulb (not included) in
accordance with the xture’s specications. Do not exceed the recommended wattage.
Set glass (O) in ring (N) with the rounded side down and secure glass with the bendable tabs on the inside of the ring.
Then align the holes of the glass ring (N) with the holes of metal shade (M) and secure them with the cap nuts (L). Your
installation is now completed. Turn on the power and test the xture.
Download de handleiding in het Nederlands en/of Engels (PDF, 0.75 MB)
(Denk aan het milieu en print deze handleiding alleen als dat echt noodzakelijk is)

Loading…

Meer over deze handleiding

We begrijpen dat het prettig is om een papieren handleiding te hebben voor je Hunter 19215 Bluff View Lamp. Je kunt de handleiding bij ons altijd downloaden en daarna zelf printen. Indien je graag een originele handleiding wilt hebben, raden we je aan contact op te nemen met Hunter. Zij kunnen wellicht nog voorzien in een originele handleiding. Zoek je de handleiding van Hunter 19215 Bluff View Lamp in een andere taal? Kies op de homepage je taal naar keuze en zoek daarna op het modelnummer om te zien of we deze beschikbaar hebben.

Specificaties

Merk Hunter
Model 19215 Bluff View
Categorie Lampen
Bestandstype PDF
Bestandsgrootte 0.75 MB

Alle handleidingen voor Hunter Lampen
Meer handleidingen voor Lampen

Beoordeling

Laat ons weten wat je van de Hunter 19215 Bluff View Lamp vindt door een beoordeling achter te laten. Wil je je ervaringen met dit product delen of een vraag stellen? Laat dan een bericht achter onderaan de pagina.
Bent u tevreden over de Hunter 19215 Bluff View Lamp?
Ja Nee
Beoordeel dit product als eerste
0 stemmen

Praat mee over dit product

Laat hier weten wat jij vindt van de Hunter 19215 Bluff View Lamp. Als je een vraag hebt, lees dan eerst zorgvuldig de handleiding door. Een handleiding aanvragen kan via ons contactformulier.

Veelgestelde vragen over Hunter 19215 Bluff View Lamp

Ons supportteam zoekt dagelijks naar nuttige productinformatie en antwoorden op veelgestelde vragen. Als er onverhoopt toch een onjuistheid tussen onze veelgestelde vragen staat, laat het ons dan weten via het contactformulier.

Is alle LED verlichting dimbaar? Geverifieerd

Nee, niet alle LED lampen zijn standaard dimbaar. Dit wordt aangegeven op de verpakking en evetueel op de lamp zelf.

Ik vind dit nuttig (508) Lees meer

Ik heb een nieuwe lichtbron in de lamp gedaan, maar deze gaat niet aan, waar kan dit door komen? Geverifieerd

Sommige lampen zijn gemaakt voor lichtbronnen van een specifiek wattage. Wanneer er een lichtbron in wordt gedaan die een hoger wattage vereist van de lamp kan leveren, dan kan het zijn dat het licht niet aangaat. Als de lamp een veel hoger wattage levert van waarvoor de lichtbron gemaakt is, kan de lichtbron doorbranden.

Ik vind dit nuttig (372) Lees meer

Waarom is de kleur van licht belangrijk? Geverifieerd

Er zijn grofweg twee soorten soort licht, warm licht en koud licht. Koud licht houdt je alerter en wakkerder. Warm licht werkt ontspannender. De warmte van licht wordt gemeten in Kelvin en staat aangegeven op de verpakking of de lamp zelf.

Ik vind dit nuttig (297) Lees meer

Wat is lumen? Geverifieerd

Lumen is een meeteenheid voor de totale hoeveelheid zichtbaar licht die een lichtbron naar alle kanten uitstraalt.

Ik vind dit nuttig (236) Lees meer

Welke fittingen zijn er? Geverifieerd

Wereldwijd worden vele soorten fittingen gebruiken, maar de meest gebruikte zijn die met de Edison schroefdraad, aangegeven met de letter E. In de meeste landen zijn fittingen E27 en E14 de standaard. In de Verenigde Staten zijn E26, E17, E12 en E10 de standaard.

Ik vind dit nuttig (180) Lees meer

Wat zegt het wattage over mijn lamp? Geverifieerd

Wattage is een meeteenheid voor het energieverbruik. Lampen met een hogere lichtopbrengst hebben een doorgaans hoger energieverbruik, maar voor het vergelijken van lichtopbrengst moet altijd gekeken worden naar de hoeveelheid lumen.

Ik vind dit nuttig (155) Lees meer

Wat is LED? Geverifieerd

LED staat voor light-emitting diode. Door in de juiste richting stroom door de halfgeleider te laten lopen ontstaat licht.

Ik vind dit nuttig (140) Lees meer
Handleiding Hunter 19215 Bluff View Lamp

Gerelateerde producten

Gerelateerde categorieën