Thank you for purchasing your new product.
We recommend that you spend some time reading this
instruction manual in order that you fully understand all
the operational features it oers.
Read all the safety instructions carefully before use and
keep this instruction manual for future reference.
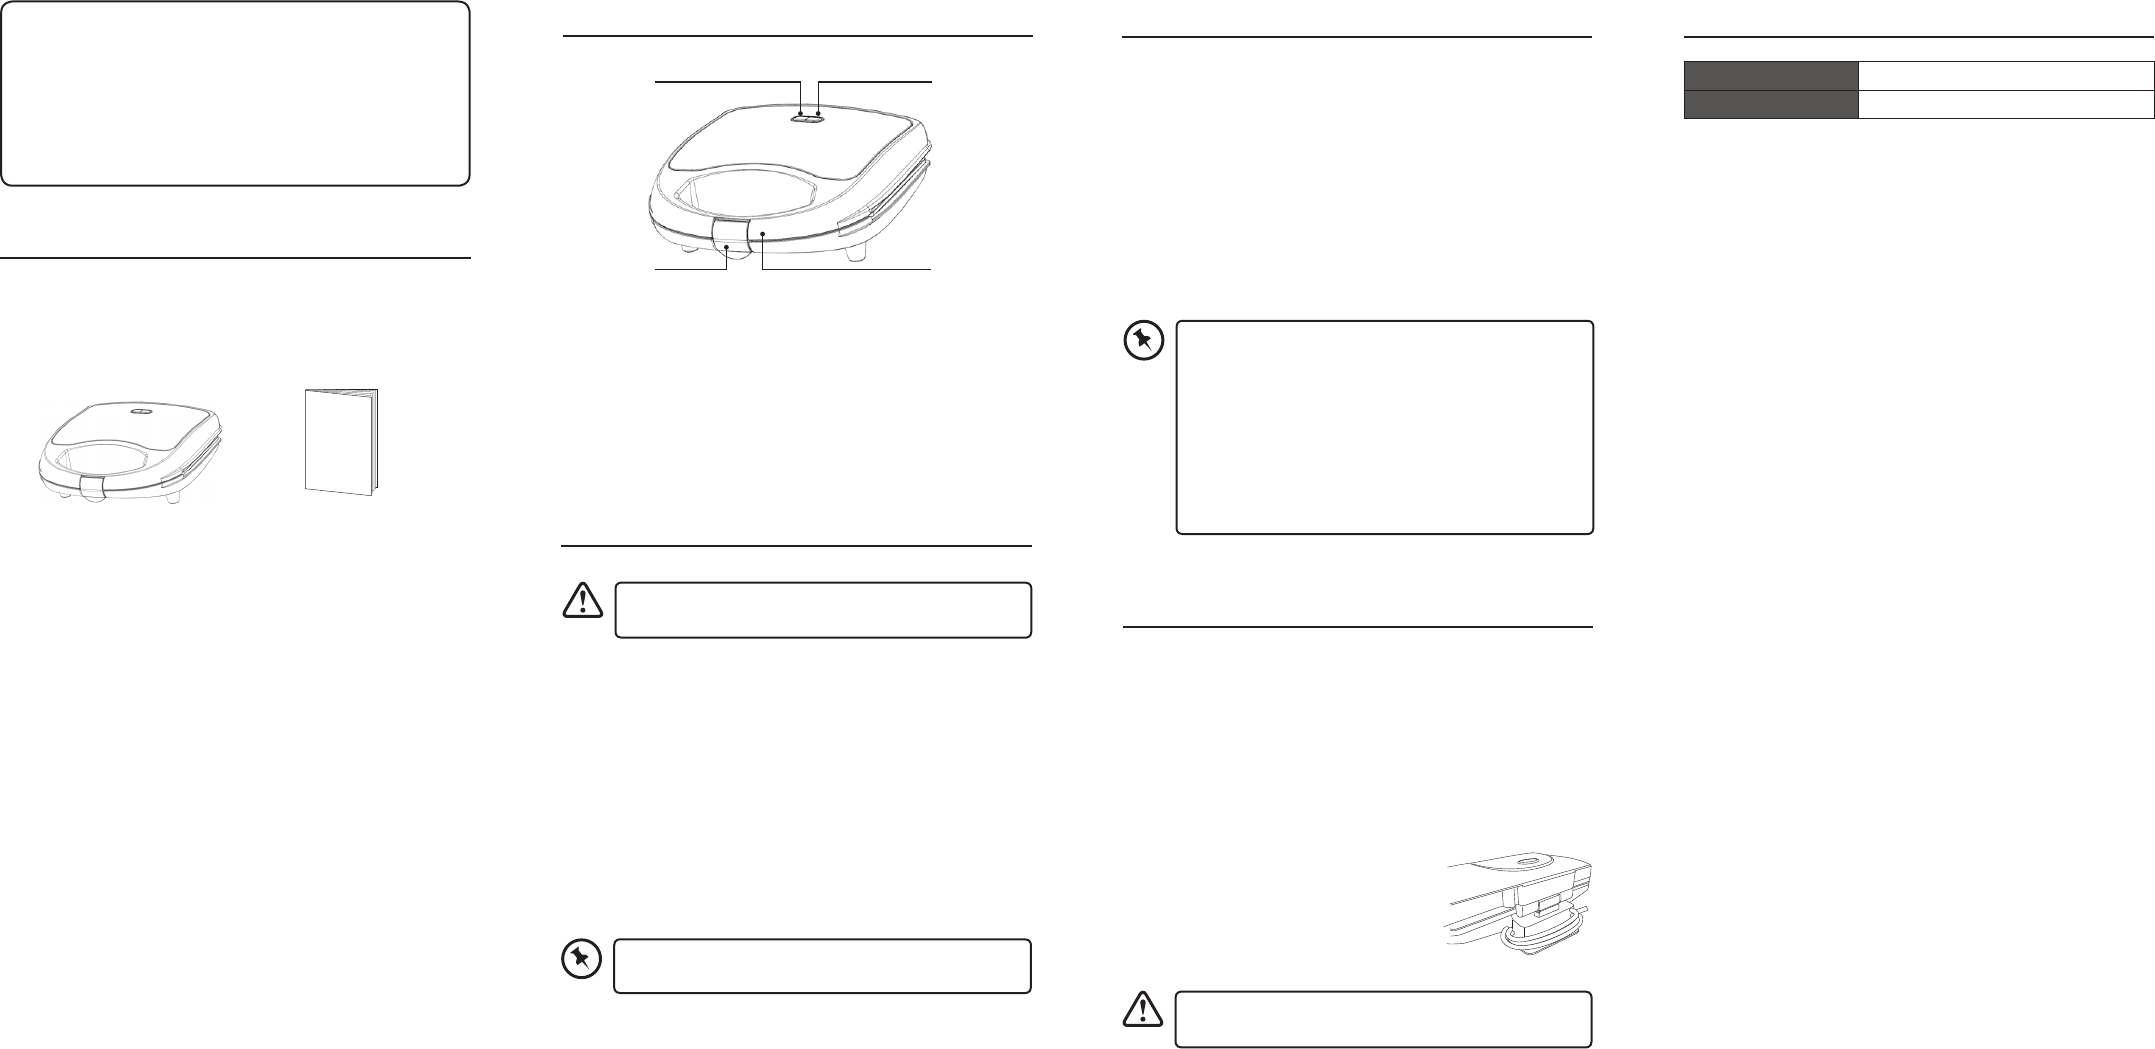
Unpacking
Remove all items from the packaging. Retain the packaging. If you
dispose of it please do so according to local regulations.
The following items are included:
Main Unit
Instruction Manual
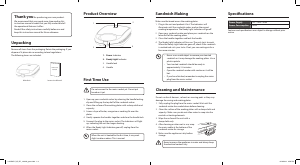
Product Overview
First Time Use
1. Open up your sandwich maker by releasing the handle locking
clip and lifting up the top half of the sandwich maker.
2. Clean the surface of the cooking plates with a damp cloth and
wipe dry.
3. Smear a layer of butter, margarine or cooking fat over the
Sandwich Making
Make sure the bread covers the cooking plates.
1. Plug in the unit and preheat it rst. The Indicators will
illuminate until the sandwich maker reaches the correct
cooking temperature. The Ready Light Indicator will go o.
2. Open your sandwich maker and place your sandwich on the
lower half of the cooking plates.
3. Close the handles together and lock the handle.
4. The Ready Light Indicator will turn on. The unit starts to cook.
When the Ready Light Indicator goes o, check if the sandwich
is cooked and suits your taste. If not, you can cook again for a
few more minutes.
When the unit is heated for the rst time, it may emit
slight smoke or odour. This is normal.
Do not connect to the mains socket yet. Do not put
bread on it yet.
Never immerse the appliance in water and always keep
the electrical contacts dry.
Cleaning and Maintenance
Do not use harsh cleaners, solvents or scouring pads as they may
damage the casing and cooking plates.
1. Fully unplug the plug from the mains socket. Wait until the
sandwich maker has cooled down before cleaning.
2. Clean the surface of the cooking plates with a damp cloth and
wipe dry. Make sure you do not allow water to seep into the
Instruction
Manual
1
4
3
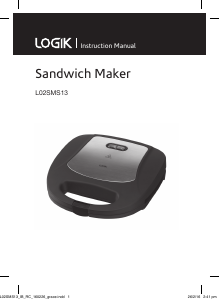
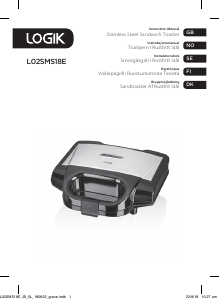
1. Power Indicator
2. Ready Light Indicator
3. Handle lock
4. Handle
2
plates.
4. Gently squeeze the handles together and close the handle lock.
5. Connect the plug to the mains socket. The Indicators will light
up, indicating the unit has begun heating.
6. When the Ready Light Indicator goes o, unplug from the
mains socket.
• Never use a metal object to remove your toasted
sandwich as it may damage the cooking plates. Use a
plastic spatula.
• Your toasted sandwich should be ready in
approximately 2-4 minutes.
• Open the sandwich maker with caution as it will be
hot.
• If you have nished, remember to unplug the mains
plug from the mains socket.
controls or heating elements.
3. Wipe the surface of the unit with a
damp cloth only.
4. After cleaning or when not in use, wrap
the mains cable at the bottom of the
sandwich maker for storage.
5. Make sure the appliance is dry before
storage.
Specications
Power Supply 220 - 240V~50Hz
Power Consumption 700W
Features and specications are subject to change without prior
notice.
L02SMS17_IB_RC_191008_grace.indd 1-4 8/10/2019 2:58 PM


Praat mee over dit product
Laat hier weten wat jij vindt van de Logik L02SMS17 Contactgrill. Als je een vraag hebt, lees dan eerst zorgvuldig de handleiding door. Een handleiding aanvragen kan via ons contactformulier.