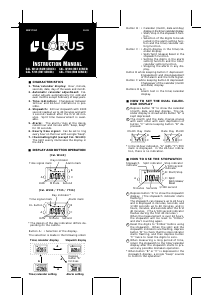
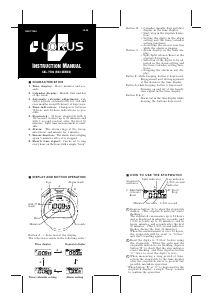
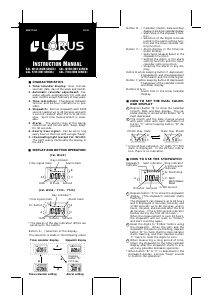
Handleiding Lorus Y735 Uurwerk

Handleiding voor je Lorus Y735 Uurwerk nodig? Hieronder kun je de handleiding gratis bekijken en downloaden als PDF in het Nederlands en/of Engels. Dit product heeft 1 veelgestelde vraag, 0 comments en heeft 0 stemmen. Is dit niet de handleiding die je zoekt, neem dan contact met ons op.

Is je product kapot en biedt de handleiding geen oplossing meer? Dan kun je voor reparatie gratis terecht bij Repair Café.

Handleiding

Loading…

Accumulated elapsed time measurement
Start Stop Restart ResetStop
BB B BC
1 Depress button “A” for 2 seconds to acti-
vate the alarm setting function. (The alarm
set indicator starts flashing.)
2 Depress button “B” to activate the “Hour”
or “Minute” setting. The display changes
in the following order with each depres-
sion of button “B”.
3 One digit (flashing) is advanced with each
depression of button “C”. The digits are
advanced quickly by keeping button “C”
depressed.
4 After all the adjustments are completed,
depress button “A” to return to the time/
calendar display.
(The display returns directly to the time/
calendar display and not to the time/cal-
endar setting.)
Note: When setting the hour digits, be sure
to check that the “A” (AM)/“P” (PM)
mark is correctly set.
B
Hour setting
Minute setting
Restart and stop can be repeated by
depressing button “B”.
Measurement between two competitors
Split time measurement
Start
BC BC
Split
Split release
Stop Reset
C
Finish (First runner)
B
C
B
CC
Finish (Second runner)
Start
Finish time
of 2nd
competitor
ResetStop
Measurement and release of split time
can be repeated by depressing button “C”.
Finish
time of 1st
competitor
Alarm set indicator
A
B
C
Hour Minutes
“A” (AM)
HOW TO SET THE ALARM
HOW TO ENGAGE AND DISENGAGE
THE ALARM AND THE TIME SIG-
NAL
B
C
“A” (AM)MinutesHour
Alarm display
1 Depress button “C” in the time/calendar
display to show the alarm display. The
alarm display is shown while button “C” is
kept depressed.
2 With each depression of button “B” while
keeping button “C” depressed, the engagement
and disengagement of the alarm and the
time signal are made as follows:
Alarm and time signal
are disengaged.
Time signal is engaged.
Alarm is disengaged.
Alarm and time signal
are engaged.
The alarm rings at the designated time for 30
seconds and stops. However, the alarm can
be stopped manually by depressing button
“C” in any display.
ALARM TEST
Alarm is engaged.
Time signal is disengaged.
The alarm can be tested with a beeping sound
by depressing buttons “B” and “C” at the
same time in the time/calendar display.
HOW TO STOP THE ALARM
HOW TO SET THE TIME/CALENDAR
Time/calendar setting
indicator
B
1 Depress button “A” to activate the time/
calendar setting function. (The time/calen-
dar setting indicator and the second digits
start flashing.)
2 Selection of the digits to be adjusted (flash-
ing) is made in the following order by
depressing button “B”.
3 One digit (flashing) is advanced with each
depression of button “C”. (The digits ex-
cept seconds are advanced quickly by keep-
ing button “C” depressed.)
Second setting
Depress button “C” in accordance with
a time signal. The seconds are reset to
“00” and start immediately.
When the seconds count any number
from “30” to “59” and button “C” is de-
pressed, one minute is added and the
seconds are immediately reset to “00”.
4 After all the adjustments are completed,
depress button “A” to return to the time/
calendar display.
Note: When setting the hour digits, be sure
to check that the “A” (AM)/“P” (PM)
mark is correctly set.
Seconds Minutes MonthHour
Day
Date
→→
C
A
←←
HOW TO CHANGEOVER THE 12-HOUR
AND THE 24-HOUR INDICATIONS
In the calendar or the alarm display, each
depression of button “A” changes over the
time indication display from the 12-hour to
the 24-hour and vice versa.
Changeover in the calendar display
24-hour
12-hour
A
A
[Keeping button “B” depressed]
Download de handleiding in het Nederlands en/of Engels (PDF, 0.25 MB)
(Denk aan het milieu en print deze handleiding alleen als dat echt noodzakelijk is)

Loading…

Beoordeling

Laat ons weten wat je van de Lorus Y735 Uurwerk vindt door een beoordeling achter te laten. Wil je je ervaringen met dit product delen of een vraag stellen? Laat dan een bericht achter onderaan de pagina.
Bent u tevreden over de Lorus Y735 Uurwerk?
Ja Nee
Beoordeel dit product als eerste
0 stemmen

Praat mee over dit product

Laat hier weten wat jij vindt van de Lorus Y735 Uurwerk. Als je een vraag hebt, lees dan eerst zorgvuldig de handleiding door. Een handleiding aanvragen kan via ons contactformulier.

Meer over deze handleiding

We begrijpen dat het prettig is om een papieren handleiding te hebben voor je Lorus Y735 Uurwerk. Je kunt de handleiding bij ons altijd downloaden en daarna zelf printen. Indien je graag een originele handleiding wilt hebben, raden we je aan contact op te nemen met Lorus. Zij kunnen wellicht nog voorzien in een originele handleiding. Zoek je de handleiding van Lorus Y735 Uurwerk in een andere taal? Kies op de homepage je taal naar keuze en zoek daarna op het modelnummer om te zien of we deze beschikbaar hebben.

Specificaties

Merk Lorus
Model Y735
Categorie Uurwerken
Bestandstype PDF
Bestandsgrootte 0.25 MB

Alle handleidingen voor Lorus Uurwerken
Meer handleidingen voor Uurwerken

Veelgestelde vragen over Lorus Y735 Uurwerk

Ons supportteam zoekt dagelijks naar nuttige productinformatie en antwoorden op veelgestelde vragen. Als er onverhoopt toch een onjuistheid tussen onze veelgestelde vragen staat, laat het ons dan weten via het contactformulier.

Wat is een quartz-uurwerk? Geverifieerd

Horloges en klokken met een quartz-uurwerk worden aangedreven door een batterij. Deze stuurt een stroom door quartz kristallen die hierdoor gaan trillen. Deze trillingen worden doorgegeven naar het uurwerk. Omdat deze trillingen een vaste frequentie hebben, zijn horloges en klokken met een quartz-uurwerk extreem precies.

Ik vind dit nuttig (26) Lees meer
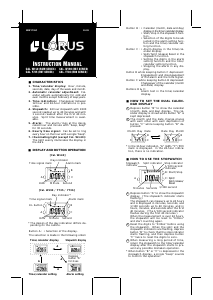
Handleiding Lorus Y735 Uurwerk

Gerelateerde producten

Gerelateerde categorieën