Handleiding Noctua NH-U12DX i4 CPU koeler

Handleiding voor je Noctua NH-U12DX i4 CPU koeler nodig? Hieronder kun je de handleiding gratis bekijken en downloaden als PDF in het Nederlands en/of Engels. Dit product heeft 0 veelgestelde vragen, 0 comments en heeft 0 stemmen. Is dit niet de handleiding die je zoekt, neem dan contact met ons op.

Is je product kapot en biedt de handleiding geen oplossing meer? Dan kun je voor reparatie gratis terecht bij Repair Café.

Handleiding

Loading…

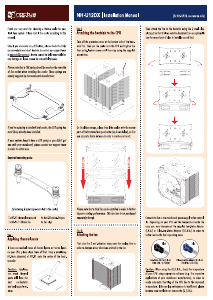
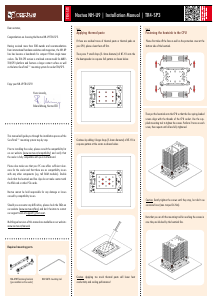
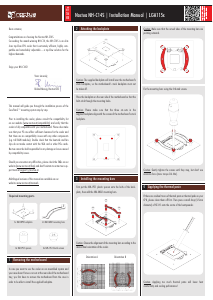
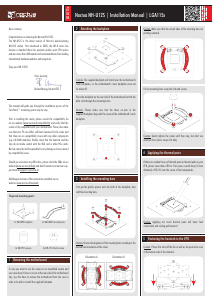
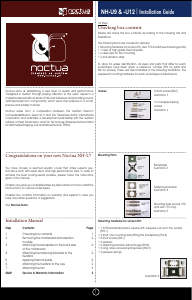
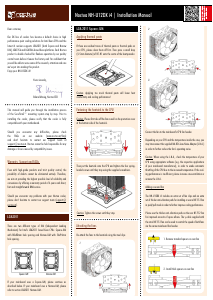
First choose the appropriate set of Narrow-ILM mounting brackets
according to the desired orientation of the cooler:
NM-XF4 NM-XFB5
Noctua NH-U12DX i4 |
Installation Manual
After you’ve fixed the springs and screws to the appropriate Narrow-
ILM fastening brackets, please screw the brackets to the heatsink:
Unscrew the preinstalled LGA2011 Square-ILM mounting brackets
(NM-XFB3) and take them off the heatsink.
Then proceed with the steps described in section LGA2011
Square-ILM.
NM-XFB4
NM-XFB5
Then remove the plastic lock-rings, springs and screws from the
Square-ILM mounting brackets and put them into the Narrow-ILM
mounting brackets.
1.
2.
NM-XFB3
NM-XFB4/NM-XFB5
LGA1356/1366 uses a different thread than the pre-installed
screws for LGA2011 (NM-XBT1), so please change the screws as
described below.
Remove the plastic lock-rings, springs and screws (NM-XBT1)
from the mounting brackets.
Required mounting parts:
LGA1356/1366
NM-XBT2 Screws (black)
1.
NM-XBT1 (silver)
After you’ve fixed the springs and screws to the mounting brack-
ets, please proceed with the steps described in section LGA2011
Square-ILM.
Then use the springs and the lock-rings to fix the black
LGA1356/1366 screws (NM-XBT2) to the mounting brackets.
2.
NM-XBT2 (black)
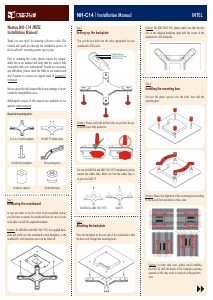
Required mounting parts:
NM-XFB4 Standard Mounting Bar
LGA2011 Narrow-ILM
NM-XFB5 90° Mounting Bar
The LGA2011 Narrow-ILM uses a different hole spacing than
Square-ILM, so please replace the pre-installed Square-ILM
mounting brackets (NM-XFB3) with Narrow-ILM brackets
(NM-XFB4 or NM-XFB5) as described below.
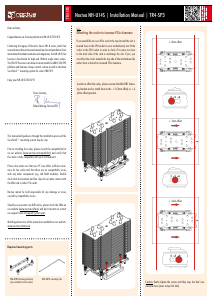
This manual will guide you through the installation process step
by step using the NM-XFB5 bracket as an example. Please note
that the installation procedure is identical for NM-XFB5 and
NM-XFB4.
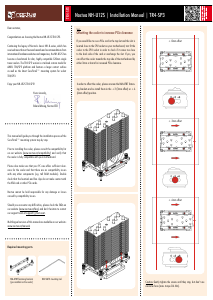
Airflow
front fan (standard spacers)
rear fan (thick spacers)
Clip position for thick spacers:
Clip position for standard spacers:
Download de handleiding in het Nederlands en/of Engels (PDF, 1 MB)
(Denk aan het milieu en print deze handleiding alleen als dat echt noodzakelijk is)

Loading…

Beoordeling

Laat ons weten wat je van de Noctua NH-U12DX i4 CPU koeler vindt door een beoordeling achter te laten. Wil je je ervaringen met dit product delen of een vraag stellen? Laat dan een bericht achter onderaan de pagina.
Bent u tevreden over de Noctua NH-U12DX i4 CPU koeler?
Ja Nee
Beoordeel dit product als eerste
0 stemmen

Praat mee over dit product

Laat hier weten wat jij vindt van de Noctua NH-U12DX i4 CPU koeler. Als je een vraag hebt, lees dan eerst zorgvuldig de handleiding door. Een handleiding aanvragen kan via ons contactformulier.

Meer over deze handleiding

We begrijpen dat het prettig is om een papieren handleiding te hebben voor je Noctua NH-U12DX i4 CPU koeler. Je kunt de handleiding bij ons altijd downloaden en daarna zelf printen. Indien je graag een originele handleiding wilt hebben, raden we je aan contact op te nemen met Noctua. Zij kunnen wellicht nog voorzien in een originele handleiding. Zoek je de handleiding van Noctua NH-U12DX i4 CPU koeler in een andere taal? Kies op de homepage je taal naar keuze en zoek daarna op het modelnummer om te zien of we deze beschikbaar hebben.

Specificaties

Merk Noctua
Model NH-U12DX i4
Categorie CPU Koelers
Bestandstype PDF
Bestandsgrootte 1 MB

Alle handleidingen voor Noctua CPU Koelers
Meer handleidingen voor CPU Koelers
Handleiding Noctua NH-U12DX i4 CPU koeler

Gerelateerde producten

Gerelateerde categorieën