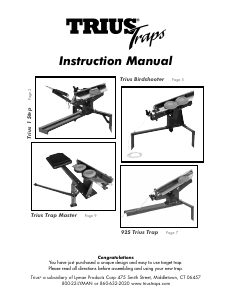
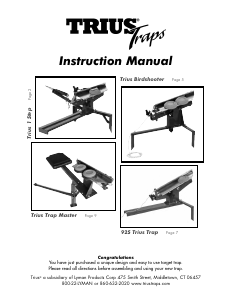
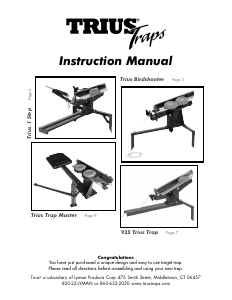
Handleiding TRIUS 1 Step Kleiduifwerper

Handleiding voor je TRIUS 1 Step Kleiduifwerper nodig? Hieronder kun je de handleiding gratis bekijken en downloaden als PDF in het Nederlands en/of Engels. Dit product heeft 0 veelgestelde vragen, 0 comments en heeft 0 stemmen. Is dit niet de handleiding die je zoekt, neem dan contact met ons op.

Is je product kapot en biedt de handleiding geen oplossing meer? Dan kun je voor reparatie gratis terecht bij Repair Café.

Handleiding

Loading…

Trius
®
Traps – 1 Step www.triustraps.com2
ASSEMBLY INSTRUCTIONS:
Tools Needed: 2 adjustable wrenches or 9/16
socket/open end or box end wrenches.
Your
Trius 1 Step is preassembled as much as possible
before shipping. The trap has been tested with the main
spring that has been sent with it. By following the
instructions, the trap should go together quickly and
easily. Do not tighten nuts and bolts before all are in
place. When tightening the lock nuts, remember lock nuts
seem tight before really snug.
Put rear support with pedal, trap base and stabilizer together as shown in Illus. A. Please note that trap
base goes in between the rear support and stabilizer.
Put bolt #1 from bottom through rear support and trap base
as shown. Tighten nut finger tight.
Put bolt #2 from bottom through rear support, add 2 wash-
ers, then through the stabilizer. Tighten nut finger tight.
Put bolt #3 from bottom through trap base, add 1 washer,
then through stabilizer. Tighten nut finger tight.
Put bolt #4 from bottom through rear support, trap base and
stabilizer. Tighten nut finger tight.
You are now ready to tighten all bolts and nuts.
Now place arm assembly onto trap base and secure with
lock nut and elevation knob.
ATT
ACHING MAIN SPRING:
(Illus.
B.) Raise pedal, extend arm forward, attach main spring to spring hook, then onto eyebolt assembly.
Put eyebolt through rear bracket, add washer and adjusting knob. Important:
Put spring through spring hook
as shown. Do not push on pedal until chain is adjusted properly!
TENSION ADJUSTMENT:
Tighten tension knob just enough to have
eyebolt take up full thread of knob. This
should throw a fine target and be just right
for teaching new shooters. For faster more
difficult targets, increase tension by tighten-
ing knob. Doubles usually require higher
tension. A regulation trap target flight is
between 8 and 12 feet high at a point 10
yards from the trap, and the horizontal dis-
tance is between 48 and 52 yards.
A
B
TRIUS 1-STEP
Download de handleiding in het Nederlands en/of Engels (PDF, 0.22 MB)
(Denk aan het milieu en print deze handleiding alleen als dat echt noodzakelijk is)

Loading…

Beoordeling

Laat ons weten wat je van de TRIUS 1 Step Kleiduifwerper vindt door een beoordeling achter te laten. Wil je je ervaringen met dit product delen of een vraag stellen? Laat dan een bericht achter onderaan de pagina.
Bent u tevreden over de TRIUS 1 Step Kleiduifwerper?
Ja Nee
Beoordeel dit product als eerste
0 stemmen

Praat mee over dit product

Laat hier weten wat jij vindt van de TRIUS 1 Step Kleiduifwerper. Als je een vraag hebt, lees dan eerst zorgvuldig de handleiding door. Een handleiding aanvragen kan via ons contactformulier.

Meer over deze handleiding

We begrijpen dat het prettig is om een papieren handleiding te hebben voor je TRIUS 1 Step Kleiduifwerper. Je kunt de handleiding bij ons altijd downloaden en daarna zelf printen. Indien je graag een originele handleiding wilt hebben, raden we je aan contact op te nemen met TRIUS. Zij kunnen wellicht nog voorzien in een originele handleiding. Zoek je de handleiding van TRIUS 1 Step Kleiduifwerper in een andere taal? Kies op de homepage je taal naar keuze en zoek daarna op het modelnummer om te zien of we deze beschikbaar hebben.

Specificaties

Merk TRIUS
Model 1 Step
Categorie Kleiduifwerpers
Bestandstype PDF
Bestandsgrootte 0.22 MB

Alle handleidingen voor TRIUS Kleiduifwerpers
Meer handleidingen voor Kleiduifwerpers
Handleiding TRIUS 1 Step Kleiduifwerper

Gerelateerde producten