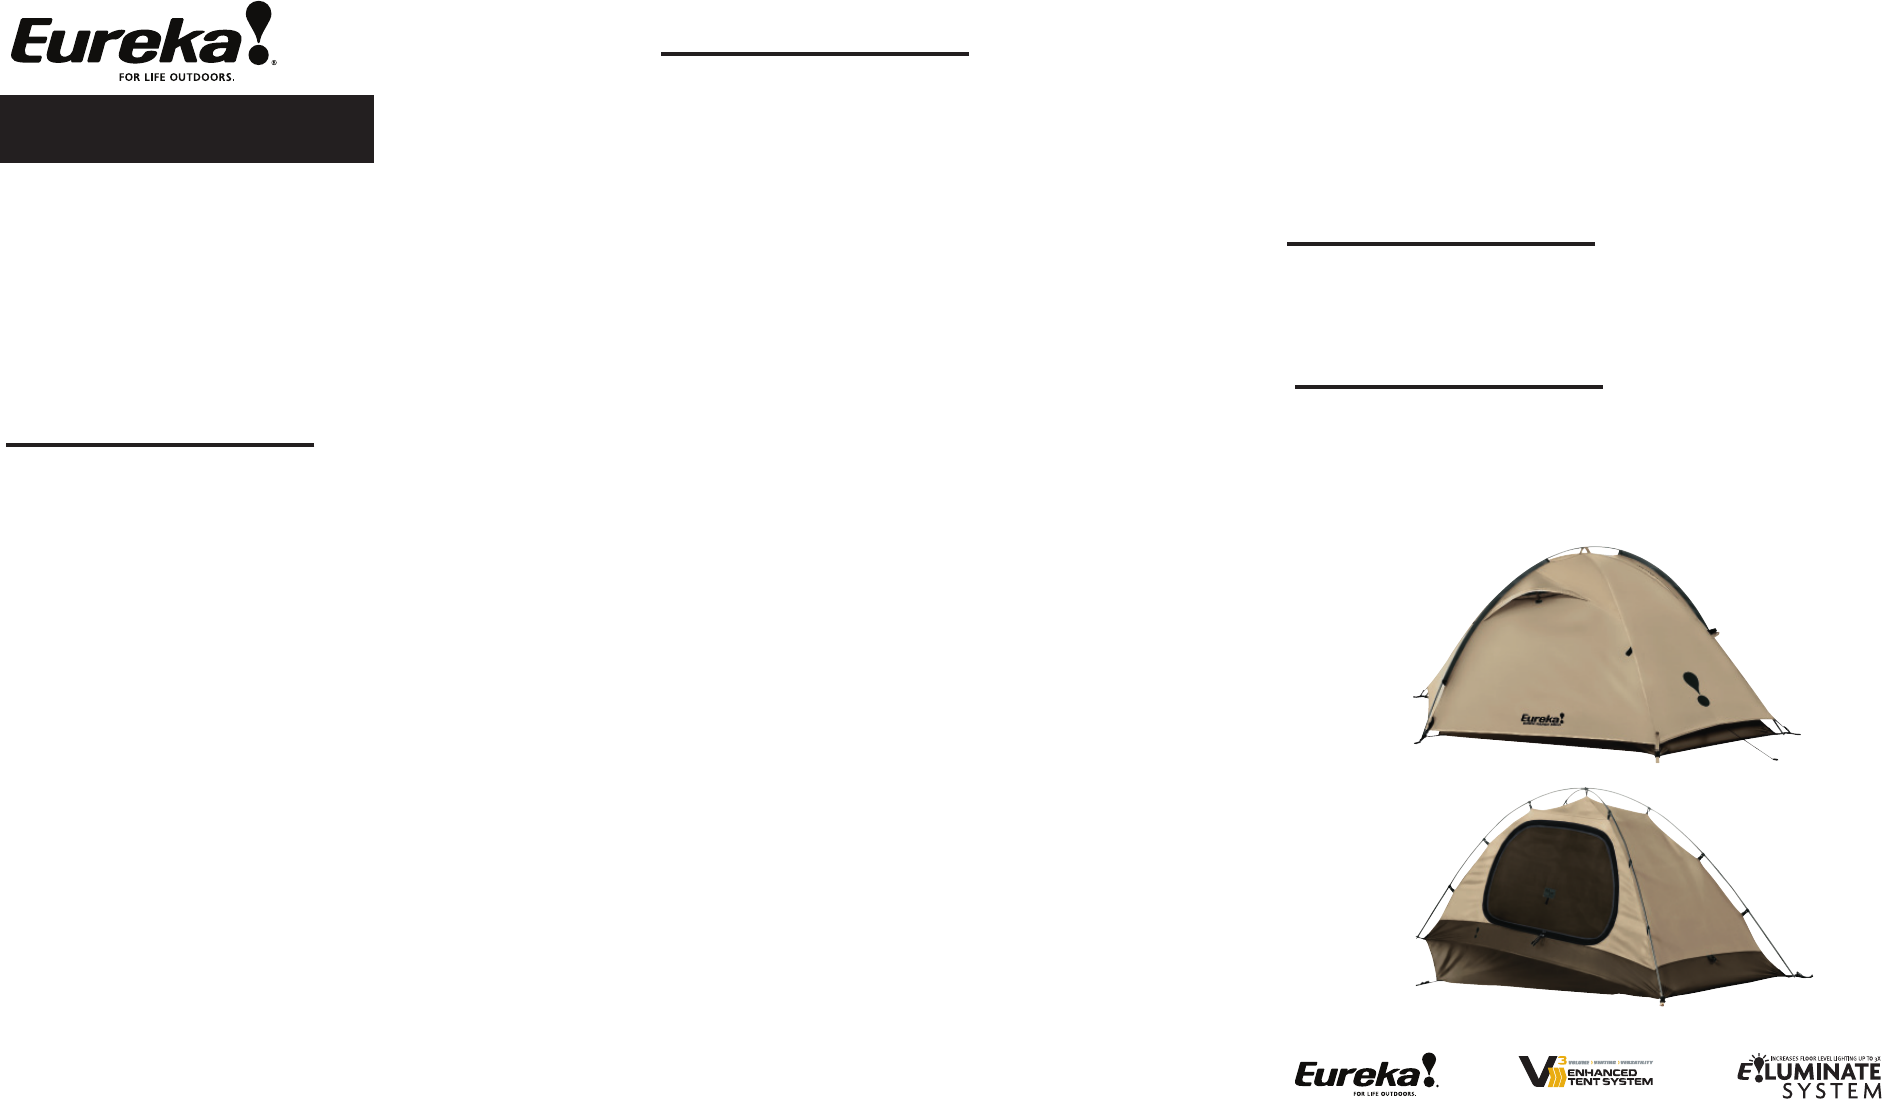
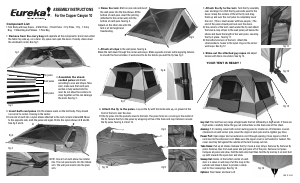
Handleiding Eureka Down Range Solo Tent
Handleiding voor je Eureka Down Range Solo Tent nodig? Hieronder kun je de handleiding gratis bekijken en downloaden als PDF in het Nederlands en/of Engels. Dit product heeft 7 veelgestelde vragen, 0 comments en heeft 0 stemmen. Is dit niet de handleiding die je zoekt, neem dan contact met ons op.
Is je product kapot en biedt de handleiding geen oplossing meer? Dan kun je voor reparatie gratis terecht bij Repair Café.
Handleiding
Loading…

Loading…
Meer over deze handleiding
We begrijpen dat het prettig is om een papieren handleiding te hebben voor je Eureka Down Range Solo Tent. Je kunt de handleiding bij ons altijd downloaden en daarna zelf printen. Indien je graag een originele handleiding wilt hebben, raden we je aan contact op te nemen met Eureka. Zij kunnen wellicht nog voorzien in een originele handleiding. Zoek je de handleiding van Eureka Down Range Solo Tent in een andere taal? Kies op de homepage je taal naar keuze en zoek daarna op het modelnummer om te zien of we deze beschikbaar hebben.
Specificaties
| Merk | Eureka |
| Model | Down Range Solo |
| Categorie | Tenten |
| Bestandstype | |
| Bestandsgrootte | 1.05 MB |
Alle handleidingen voor Eureka Tenten
Meer handleidingen voor Tenten
Veelgestelde vragen over Eureka Down Range Solo Tent
Ons supportteam zoekt dagelijks naar nuttige productinformatie en antwoorden op veelgestelde vragen. Als er onverhoopt toch een onjuistheid tussen onze veelgestelde vragen staat, laat het ons dan weten via het contactformulier.
Kan ik mijn tent ook nat opbergen? Geverifieerd
Alleen voor zeer korte periodes. Wanneer een tent een week of langer nat wordt opgeborgen, kan deze gaan schimmelen. Dit is zeer schadelijk voor de tent en eventueel uw gezondheid.
Ik vind dit nuttig (515) Lees meerHoe kan ik een tent impregneren? Geverifieerd
Zet de tent op, reinig het doek en laat het drogen. Breng het impregneermiddel aan op het doek met een plantenspuit of andere spray. Het is ook mogelijk een nieuwe verfroller of kwast te gebruiken. Het doek dient helemaal verzadigd te worden met het impregneermiddel. Behandel ook de binnenkant van het doek. Veeg de ramen en andere onderdelen dan het tentdoek goed schoon met een vochtige doek. Laat het impregneermiddel hier niet op drogen. Laat vervolgens het tentdoek goed drogen. Herhaal indien nodig de behandeling.
Ik vind dit nuttig (409) Lees meerKan ik een scheur of gat in mijn tentdoek zelf repareren? Geverifieerd
Voor synthetisch tentdoek zijn er speciale stukken zelfklevend reparatiedoek verkrijgbaar. Plak aan beide zijden van het doek een stuk zelfklevend tentdoek over het scheurtje of gaatje. Gebruik voor katoenen tentdoek of tentdoek van gemengd materiaal opstrijkbaar tentdoek. Hiervoor heb je een strijkijzer nodig.
Ik vind dit nuttig (264) Lees meerDe rits van mijn tent loopt stroef, wat kan ik doen? Geverifieerd
Gebruik bij stroeve ritsen een droge PTFE spray of siliconenspray. Spray niet op de stof en spuit de ritsen af en toe preventief in om problemen in de toekomst te voorkomen.
Ik vind dit nuttig (207) Lees meerWelke soort tentharingen heb ik nodig? Geverifieerd
Op gras- en bosgrond gebruik je halfronde of kunststof tentharingen. Op steengronden gebruik je rotspennen. Op kleigrond gebruik je halfronde, kunststof of universele tentharingen. Op kiezelgrond gebruik je halfronde of universele tentharingen. Op fijne zandgronden zoals duinen gebruik je houten tentharingen.
Ik vind dit nuttig (196) Lees meerEr zitten waterdruppels aan de binnenkant van de tent, betekent dit dat de tent lekt? Geverifieerd
Nee, dit is waarschijnlijk conden. Zorg dat de tent goed geventileerd is om consens tot een minimum te beperken.
Ik vind dit nuttig (175) Lees meerHet impregneermiddel laat witte vlekken of een witte waas achter op het doek, wat kan ik hier aan doen? Geverifieerd
Indien er een witte waas achterblijft of u witte vlekken ziet op uw tentdoek na het impregneren heeft u op die plekken meer impregneermiddel aangebracht dan elders. Dit is niet erg en de vlekken en waas verdwijnen vaak vanzelf. Het is niet verstandig minder impregneermiddel te gebruiken om vlekken of een waas te voorkomen. Het doek moet goed nat zijn van het impregneermiddel om een goede impregnatie te garanderen.
Ik vind dit nuttig (131) Lees meerBeoordeling
Laat ons weten wat je van de Eureka Down Range Solo Tent vindt door een beoordeling achter te laten. Wil je je ervaringen met dit product delen of een vraag stellen? Laat dan een bericht achter onderaan de pagina.
Praat mee over dit product
Laat hier weten wat jij vindt van de Eureka Down Range Solo Tent. Als je een vraag hebt, lees dan eerst zorgvuldig de handleiding door. Een handleiding aanvragen kan via ons contactformulier.