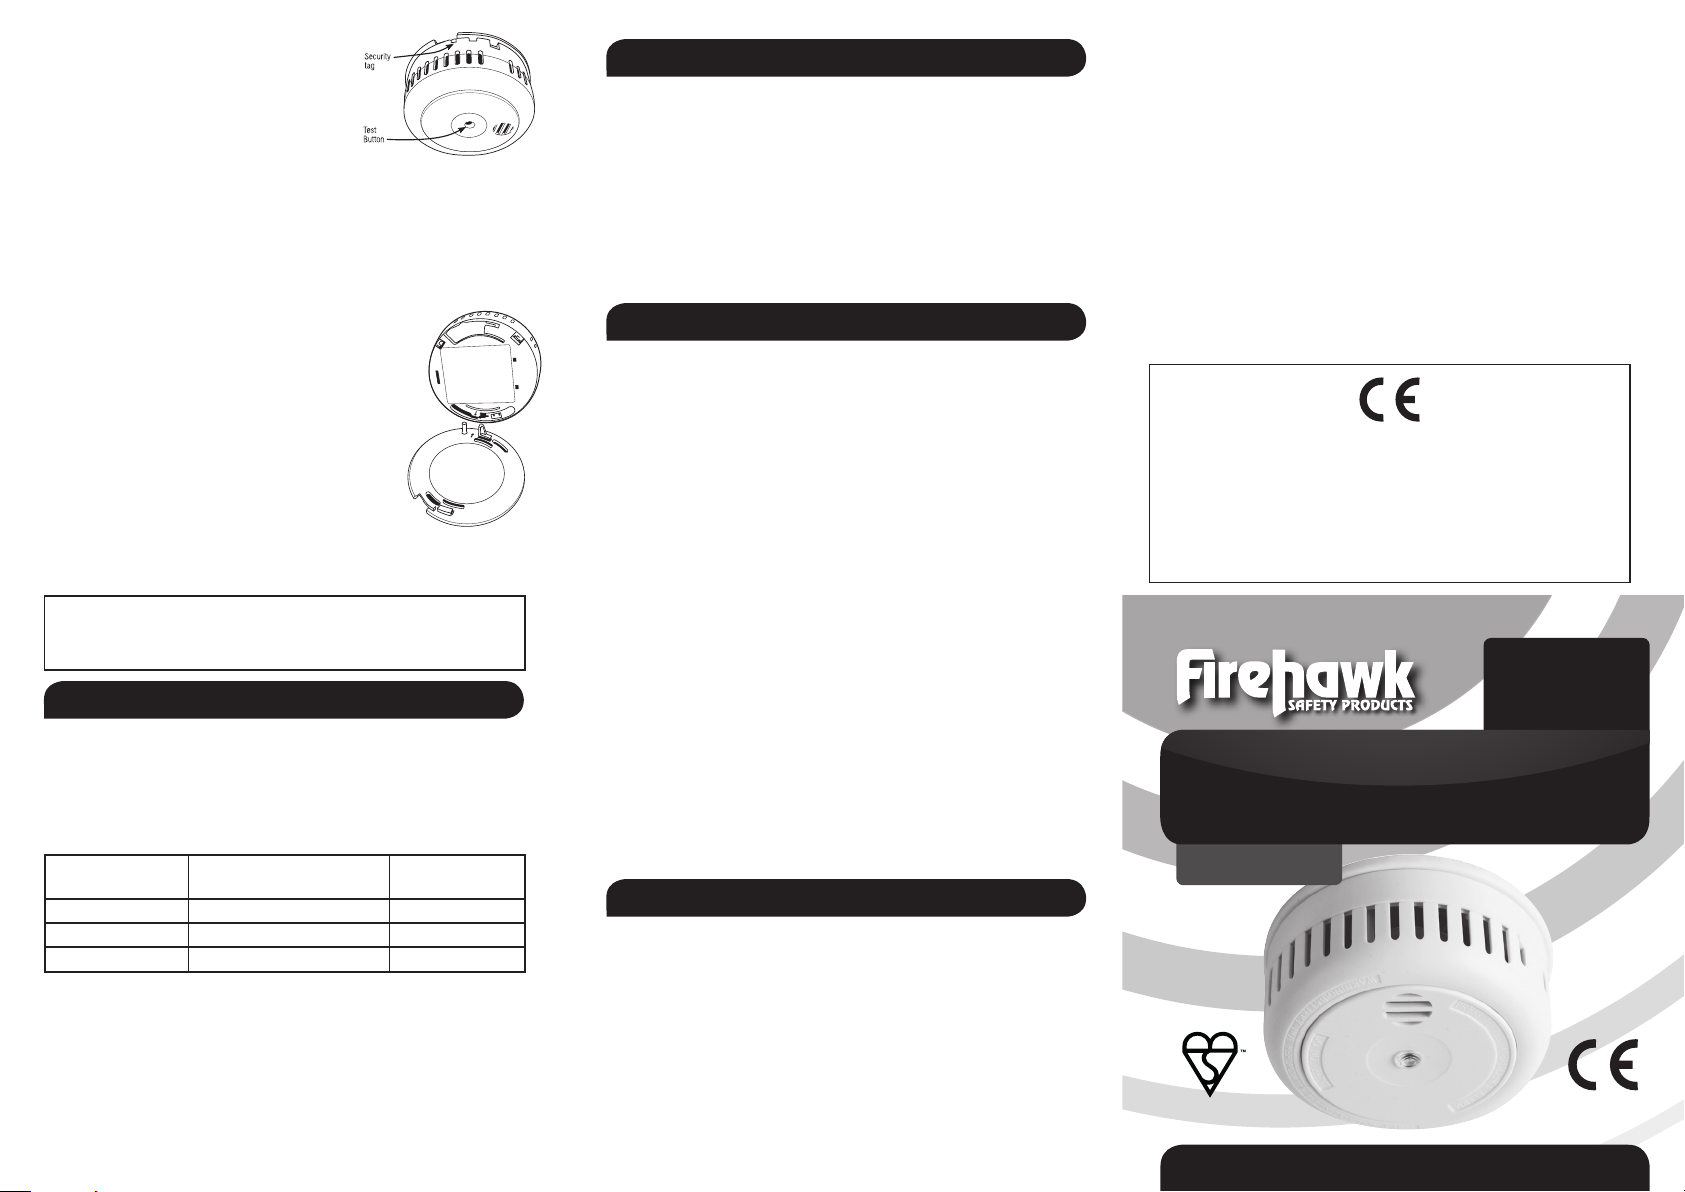
Separate the alarm from the mounting plate. The
product is shipped with the batteries disconnected
and the mounting plate loose. If the product has
been activated prior to installation, depress the
small security tag, located in the side wall as shown
here and turn the alarm clockwise while holding the
mounting plate
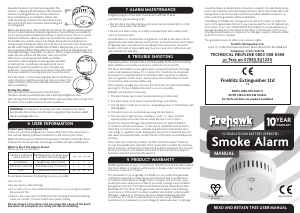
Select desired location, refer to the Section above. You need to ensure surfaces
do not contain hazardous materials eg asbestos. Screw fittings are suitable for
use on wood, plaster and plasterboard but on other surfaces such as concrete
adhesive material or adhesive pads may be better. For certain applications,
the installer may need to source own fixings. Screw the mounting base to
ceiling using the fixings provided. You may also use two half-moon shaped and
double-sided fixing pads available from Fireblitz. Alternatively, you may use
any proprietary builders fixing adhesive normally used to fix skirting boards and
other light building components to walls etc. When using the pads or adhesives
make sure the surfaces are flake free, clean, dry and flat.
Take care to use all appropriate Health and Safety
precautions when fixing the mounting plate and alarm
to their surface - in particular use appropriate access
equipment, protect yourself from dust and wear eye
protection . Line up the arrow on the back of the alarm with
the arrow inside the mounting plate and mount the alarm.
Once the alarm is on the mounting plate twist it clockwise to
lock it into place until the security tag clicks in to place. The
sealed in battery will be automatically switched on and the
alarm powered up.
Testing the Alarm
Press and release the test button to test the alarm.
The alarm should sound three times with a flashing red light then stop.
After testing check that the red light flashes approximately every minute. Test
the alarm once a week to ensure correct operation.
WARNING: The electronic test button provides a full test of the alarms
functionality. Do not try to test the alarm using either heat smoke or naked
flame as damage will occur.
6. USER INFORMATION
Protect your Home Against Fire
Contact you local Fire Brigade for a home safety check, this information is
free and will identify potential fire hazards in and around your home.
Make sure all occupants of the home know what a fire alarm sounds like. Prove
and practise a fire escape plan and arrange a suitable and safe assembly point.
What to Do if the Alarms Sound
Alarms sounds are as follows:
Full alarm indicating Repeating series of 3 beeps every
••• ••• ••• •••
smoke and fire 4 seconds with flashing light
Low Battery Single beep every minute • • • •
Test button jammed One beep every 11 seconds • • • •
Fault Double beep every minute •• •• •• ••
Ensure everyone leaves the building as soon as possible.
• Do not run.
• Do not stop to collect belongs.
• If it is safe to do so, close all windows and doors as you escape to prevent
the spread of fire.
• Smoke is the main cause of death from fire. If trapped inside the building,
cover your mouth, conserve breath and crawl to safety.
Do not silence a fire alarm until you know the cause of the alarm
and when all occupants are safely outside the building.
7. ALARM MAINTENANCE
A regular program of fire alarm maintenance will help to keep
your alarm in good working order.
• Test the alarm monthly making sure that all interconnected alarms in the
system sound within 10 seconds.
• Vacuum the alarms every six months and wipe them with a damp cloth.
• Do not paint the alarm.
A smoke alarm is a sensitive life-saving device. The life of this alarm can be
significantly reduced by adverse environments, incorrect location and a failure
to regularly clean and maintain it according to the instructions. Incorrect
location and a lack of reasonable care may also cause it to malfunction and
will invalidate the warranty.
8. TROUBLE SHOOTING
The battery will last 10 years and is not replaceable. At the end of its life the
alarm will beep once every minute for a minimum of one month.
The life of the battery can be significantly shortened by periods of storage
or use in temperatures below 5°C or above 30°C. It will also be shortened
by frequent or extended periods in full alarm often caused by conditions
such as cigarette smoke, steam, aerosol spray and condensation. In these
circumstances the warranty will be void.
If this happens at night you can press the test button to silence the battery
warning for 10 hours. Replace the alarm as soon as possible.
Problems are indicated in five ways;
1. The alarm beeps twice every minute indicating a malfunction.
2. The alarm beeps once every minute indicating a low battery.
3. The full alarm sounds for no reason. (A repeating series of three beeps with
flashing light)
4. The alarm does not sound when pressing the test button.
5. The test button light remains steadily on or off. (i.e. does not flash
approximately once every minute, when the unit is not in alarm)
Inspect for obvious damage. Check that the alarm has been installed in
accordance with the instructions. In the case of repeated nuisance alarms,
check that it is free from dust, cobwebs and external contamination from
such things as cigarette smoke, drying paint, spray from household aerosols
and steam that will ultimately shorten the life of the alarm and invalidate the
warranty.
If this does not correct the problem, do NOT attempt to repair. There are
no user serviceable parts internally. If the smoke alarm is within the warranty
period and terms, indicate the nature of the problem and return the unit with
proof of purchase to the address at the end of this manual. Units beyond
warranty cannot be economically repaired.
9. PRODUCT WARRANTY
Fireblitz guarantees to you, as a purchaser, that the enclosed fire alarm will be
free from defects in material, workmanship or design under normal use and
service for a period of 10 years.
This Guarantee is not assignable. Our liability to you, under this guarantee
is limited to repairing or replacing any part which we find to be defective
in material, workmanship or design, free of charge to the customer, upon
sending the alarm with proof of date of purchase, postage paid to Fireblitz
Extinguisher Ltd, Units 15/17 Manford Industrial Estate, Manor Road, Erith,
Kent DAB 2AJ. The terms of this guarantee will not apply in the following
circumstances: If the alarm has been modified, dismantled, contaminated,
damaged, neglected or otherwise abused or altered following the date
of purchase, or if it fails to operate due to incorrect siting, installation,
maintenance or inadequate or over voltage AC electrical power, or damage
READ AND RETAIN THIS USER MANUAL
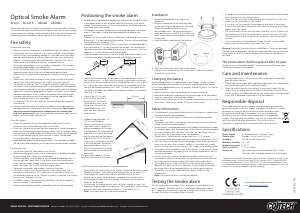
MANUAL
10 YEAR LITHIUM BATTERY OPERATED
Smoke Alarm
0086-CPR-624017BS EN 14604:2005
KM 623822
10
YEAR
WARRANTY
caused by failure to abide by the instructions supplied. It is specifically drawn
to the users attention that substantial periods in alarm will shorten alarm life,
during which time the fire alarm will have provided valuable protection; no
Claim under the guarantee will be entertained.
The liability of Fireblitz Ltd, arising from the sale of this alarm or under the
terms of this guarantee shall not in any case exceed the cost of replacement
of the alarm. In no case, shall Fireblitz Ltd be liable for consequential loss or
damage resulting from the failure of the alarm or the breach of this or any
other guarantee, express or implied or for damage caused by failure to abide
by the instructions supplied.
This guarantee does not affect your statutory rights.
Fireblitz Extinguisher Ltd.
Units 15-17 Manford Industrial Estate, Manor Road. Erith, Kent DA8 2AJ
Telephone: 01322 342238
TECHNICAL HELPLINE 0800 008 6568
or Text on 07885 831239
Email: customerservices@fireblitz.co.uk
Fireblitz Extinguisher Ltd
15
FHB10 0086-CPR-624017
BS EN 14604:2005 KM 623822
For Technical Data see product handbook


Praat mee over dit product
Laat hier weten wat jij vindt van de FireHawk FHB10 Rookmelder. Als je een vraag hebt, lees dan eerst zorgvuldig de handleiding door. Een handleiding aanvragen kan via ons contactformulier.
beantwoord | Ik vind dit nuttig (7) (Vertaald door Google)
beantwoord | Ik vind dit nuttig (0) (Vertaald door Google)