Handleiding Oregon IWA-80055 Weerstation

Handleiding voor je Oregon IWA-80055 Weerstation nodig? Hieronder kun je de handleiding gratis bekijken en downloaden als PDF in het Nederlands en/of Engels. Dit product heeft 5 veelgestelde vragen, 0 comments en heeft 0 stemmen. Is dit niet de handleiding die je zoekt, neem dan contact met ons op.

Is je product kapot en biedt de handleiding geen oplossing meer? Dan kun je voor reparatie gratis terecht bij Repair Café.

Handleiding

Loading…
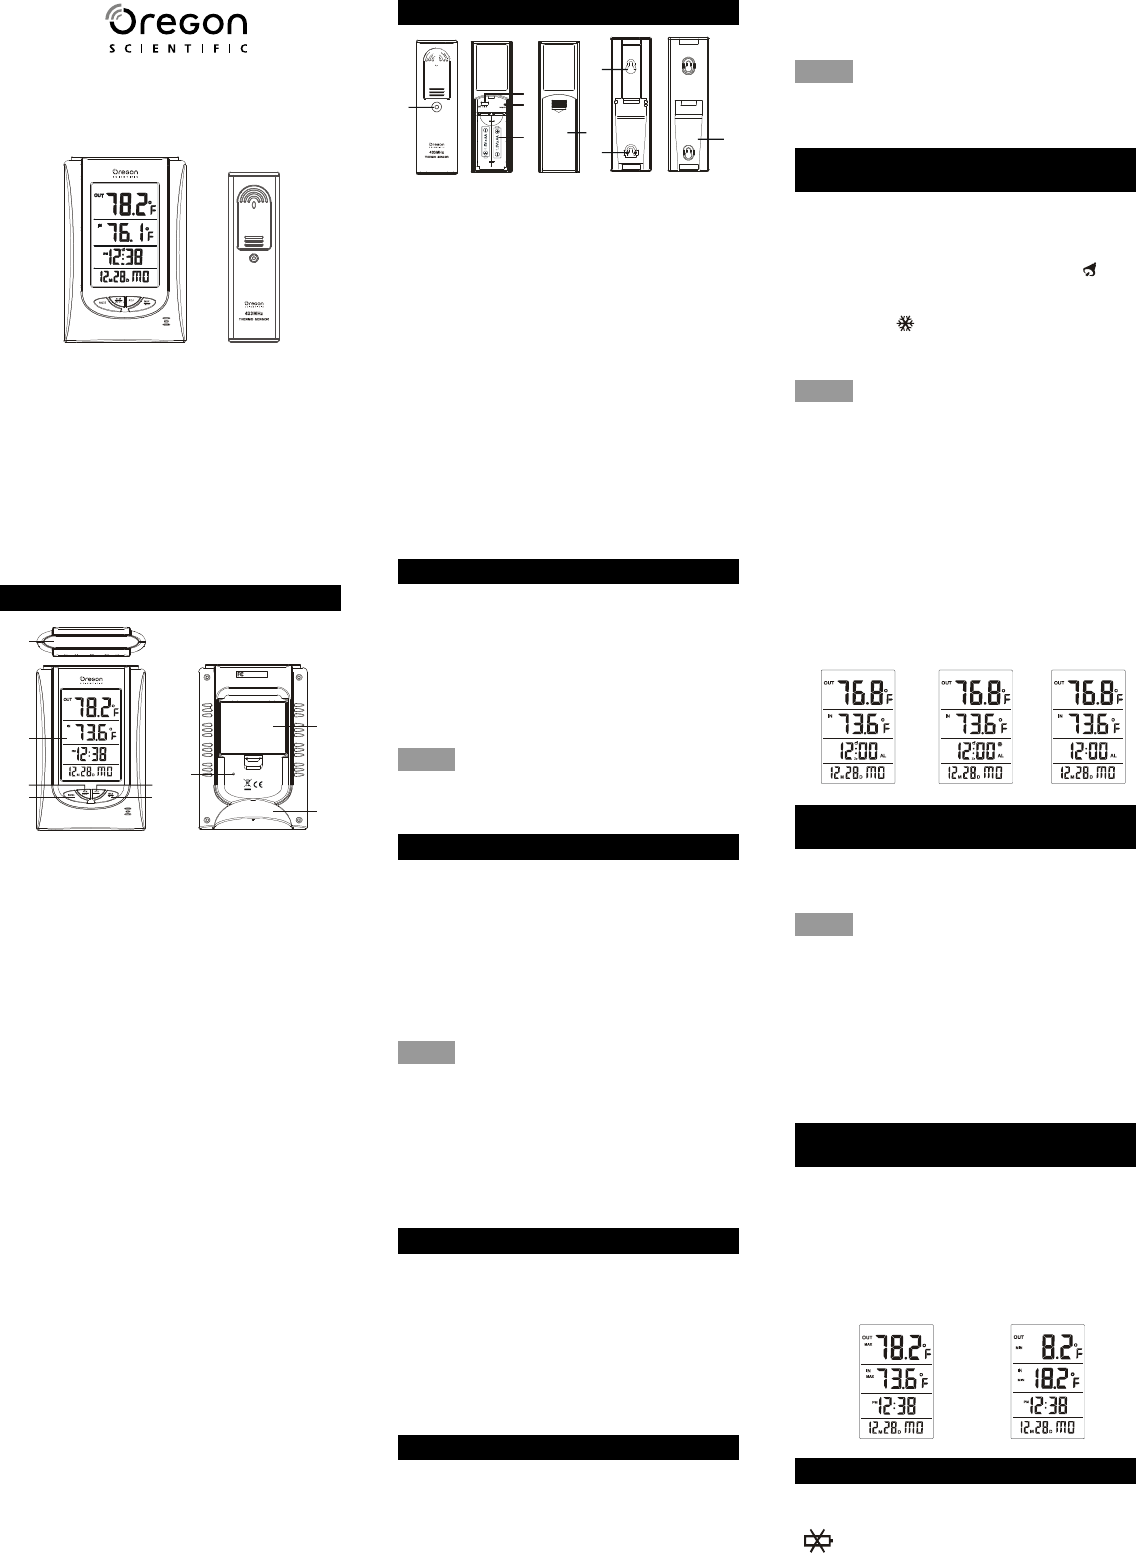
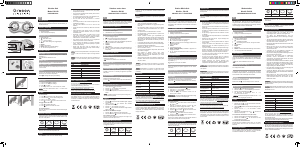
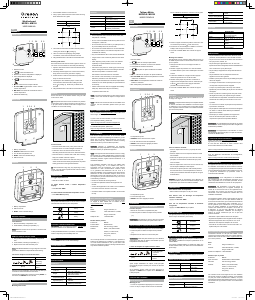
TRANSMITTER:
1. LED indicator:
- Flashes when the remote unit transmits a reading.
2. CHANNEL SLIDE SWITCH:
- Assign the transmitter to Channel 1, 2 or 3.
(NOTE: The default and only effective channel
for receiver is Channel 1.)
3. RESET:
- Press it to restart the transmitter.
4. BATTERY COMPARTMENT:
- Requires 2 AA size batteries (not included).
5. BATTERY DOOR:
6. WALL-MOUNTING HOLDER:
- Supports the transmitter in the wall mounting.
7. TABLE STAND:
- Use it to support the the sensor on a flat surface.
BEFORE USING THE TRANSMITTER
1. Remove the transmitter from the stand and
open the battery door.
2. Insert 2 AA size batteries into the battery
compartment. Make sure you insert them the
right way according to the polarity information
marked on the battery compartment.
3. Replace the battery door.
4. “Channel 1” must be selected for this model.
NOTE:
Avoid placing the transmitter in direct sunlight, rain or
snow.
WEATHER STATION
1. Remove the battery door and insert 3 AA size
batteries into the battery compartment. Make
sure you insert them the right way according to
the polarity information marked on the battery
compartment.
2. Replace the battery door.
3. Press “RESET” key to restart the clock and it
will synchronize with the transmitter
automatically.
NOTE:
1. The building material and the position of receiver
and transmitter affect the effective range. So
try various locations to obtain the best result.
2. Place the unit away from metal objects and
electrical appliances to minimize the interference.
Position the receiver and transmitter within the
effective transmission range: 100 feet in usual
circumstances.
TIME AND CALENDAR SETTING
1. In normal time mode, press and hold “MODE”
key for 2 seconds until the HOUR digit flashes.
2. Press ADJ · °C/°F key to change its value.
3. Repeat the above operations to set time and
calendar in this order: Hour > Minute > Second >
12/24 Hr > Year > Month > Date.
4. Press “MODEkey to save and exit the setting
mode, or let it exit automatically 30 seconds
later without pressing any key.
ALARM TIME SETTING
1. In normal time mode, press MODE key to
enter the alarm time mode.
2. Press and hold “MODE key for 2 seconds to
enter the alarm time setting mode until the
HOUR digit flashes.
3. Press ADJ · °C/°F key to change its value.
4. Repeat the above operations to set the alarm
Minute.
WIRELESS THERMO CLOCK
MODEL IWA-80055
USERS INSTRUCTIONS
Thank you for your purchase of this wireless
thermo clock. The utmost care has gone into the design
and manufacture of your clock. Please read the
instructions carefully and keep the manual for future
reference.
The receiver unit has a clear, easy-to-read display that
shows the indoor/outdoor temperature, time, date, month
and day of the week . It is able to receive and display
readings from the remote sensor.
The 433 MHz technology means no wire installation is
required and you can place the sensor anywhere you
like.
MAIN FEATURES:
1. SNOOZE / LIGHT:
- Press it to turn on the backlight for 5 seconds.
- Press it to stop the current alarm when it is
sounding.
2. LCD display:
- Displays the time, date, month, day of the week,
indoor/outdoor current temperature as well as the
maximum and minimum indoor/outdoor
temperature.
3. ALM ON/OFF:
- Press it once to turn on the Alarm and Snooze;
press it twice to turn on the Temperature Alarm;
press it again to turn off all of them.
- Press it to stop the current alarm when it is
sounding.
4. MODE:
- Press it to switch between normal time mode and
alarm time mode.
- Press and hold it for 2 seconds to enter the time
setting mode.
- In setting mode, press it to step the setting items.
5. ADJ · °C/°F:
- Press it to switch between Celsius and Fahrenheit.
- In setting mode, press it to change the setting
values.
6. MAX / MIN:
- Press it to check the minimum and maximum
temperature records.
- Press and hold it for 3 seconds to delete the
maximum and minimum temperature records.
7. RESET:
- Press it to reset all values to default values.
- In case of malfunction, the unit may be required
to reset.
8. BATTERY COMPARTMENT:
- Accommodates 3 AA size batteries.
9. FIXED TABLE STAND:
- Use it to stand the clock on the desktop.
2
4
6
S N O O Z E / L I G H T
1
3
5
C/ F
8
7
9
RESET
MOD EL NO : IWA -800 55
MA DE I N CHI NA
Rem ote Ther mo Cl ock
IWA -800 55
3
2
5
6
7
6
4
1
OFF
Temperature
Alarm and Snooze ON
Temperature Alarm ON
C8257-PD08423M Size: A4
5. Press “MODEkey to save and exit the setting
mode, or let it exit automatically 30 seconds
later without pressing any key.
NOTE:
The alarm will be automatically turned on when you set
the alarm time.
USING ALARM & TEMPERATURE ALARM
FUNCTIONS
1. Set the alarm time as described in the previous
section.
2. Press “ALM ON/OFF” key once to turn on the
alarm and snooze with the bell icon and
snooze icon “Zz” displayed on the LCD.
3. Press it twice to turn on the temperature alarm with
the icon ” displayed.
4. Press it again to turn off all of them until the
icons disappear.
NOTE:
1. To activate the temperature alarm function,
ALARM must be on.
2. The temperature alarm can be turned on 30
minutes earlier than the alarm only when the
transmitter’s temperature is below -3°C (26°F).
3. Once the snooze function is turned on, the 4-
step crescendo alarm will sound 7 times in 5-
minute interval. The alarm duration is 60 seconds.
4. Enter the snooze mode; press the “ALM ON/OFF”
key to stop the alarm completely and exit the snooze
mode.”
HOW TO READ INDOOR AND OUTDOOR
TEMPERATURE RECORDS
Change the temperature unit to °C for Celsius or °F
for Fahrenheit by pressing the “ADJ · °C/°F key.
NOTE:
1. If no signals are received or the transmission is
interfered, “---will appear on the LCD.
2. Relocate the clock or the transmitter in other
positions and make sure the transmission is within
the effective range of 100 feet approx.
3. After several unsuccessful attempts to receive the
temperature signal, please remove the batteries
from the sensor and main display unit and start
the setup procedure again and decrease the
distance between the sensor and main display unit.”
CHECKING AND DELETING MAX. /MIN.
TEMPERATURE RECORDS
1. PressMAX/MIN key once to check the
maximum temperature records. Press it twice
to check the minimum records. Press it again to
exit.
2. Press and hold “MAX/MIN” key for 3 seconds to
delete the maximum and minimum temperature
records.
LOW BATTERY INDICATOR
When the LCD becomes dim, replace with 3 AA size
batteries at once; while if the low battery indicator
appears on the LCD, it indicates that the
battery power of the transmitter is not enough, and
you should replace the batteries at once.
MAX.temperature record
MIN.temperature record
Download de handleiding in het Nederlands en/of Engels (PDF, 1.08 MB)
(Denk aan het milieu en print deze handleiding alleen als dat echt noodzakelijk is)

Loading…

Meer over deze handleiding

We begrijpen dat het prettig is om een papieren handleiding te hebben voor je Oregon IWA-80055 Weerstation. Je kunt de handleiding bij ons altijd downloaden en daarna zelf printen. Indien je graag een originele handleiding wilt hebben, raden we je aan contact op te nemen met Oregon. Zij kunnen wellicht nog voorzien in een originele handleiding. Zoek je de handleiding van Oregon IWA-80055 Weerstation in een andere taal? Kies op de homepage je taal naar keuze en zoek daarna op het modelnummer om te zien of we deze beschikbaar hebben.

Specificaties

Merk Oregon
Model IWA-80055
Categorie Weerstations
Bestandstype PDF
Bestandsgrootte 1.08 MB

Alle handleidingen voor Oregon Weerstations
Meer handleidingen voor Weerstations

Veelgestelde vragen over Oregon IWA-80055 Weerstation

Ons supportteam zoekt dagelijks naar nuttige productinformatie en antwoorden op veelgestelde vragen. Als er onverhoopt toch een onjuistheid tussen onze veelgestelde vragen staat, laat het ons dan weten via het contactformulier.

Mijn weerstation gaf aan dat het zou regenen, maar dit gebeurde niet, hoe kan dat? Geverifieerd

De voorspelling van het weerstation is gebaseerd op luchtdruk. Grofweg betekent een lage luchtdruk dat er slecht weer komt en een hoge luchtdruk dat er goed weer komt. Het kan gebeuren dat het weer zich anders ontwikkelt dan het luchtdrukverloop doet vermoeden.

Ik vind dit nuttig (1469) Lees meer

Wat is de beste plek om een weerstation en de sensoren te plaatsen? Geverifieerd

Het weerstation zelf staat binnen en dient uit de buurt gehouden worden warmtebronnen zoals een keuken, raam of elektrische apparatuur. Een losse temperatuursensor voor buiten dient in de schaduw en ten minste 1,25m van de grond geplaatst the worden. Een regensensor moet op een open plaats staan, waar regen er altijd in kan. Ook de windsensor moet op een open plek staan, waar er geen obstakels zijn die de wind beïnvloeden.

Ik vind dit nuttig (395) Lees meer

Mijn weerstation heeft een regenmeter, kan deze ook de hoeveelheid gevallen sneeuw meten? Geverifieerd

Sommige regenmeters zijn voorzien van een verwarmingselement, waardoor de sneeuw smelt en gemeten kan worden. Zonder verwarmingselement loopt de regenmeter vast en kan er dus geen meting gedaan worden.

Ik vind dit nuttig (282) Lees meer

Kan ik een verwisselbare batterij een lange tijd in een apparaat laten? Geverifieerd

Verwisselbare batterijen kunnen een lange periode in een apparaat blijven indien dit apparaat gebruikt wordt. Als een apparaat voor een lange periode wordt opgeslagen is het aan te raden de batterijen er uit te halen om oxidatie te voorkomen.

Ik vind dit nuttig (282) Lees meer

Er is een batterij in mijn apparaat gaan oxideren, kan ik het nog veilig gebruiken? Geverifieerd

Ja, het apparaat kan nog veilig gebruikt worden. Verwijder eerst de geoxideerde batterij. Doet dit niet met blote handen. Reinig daarna het batterijcompartiment met een wattenstaafje gedipt in azijn of citroensap. Laat het drogen en doe nieuwe batterijen in het apparaat.

Ik vind dit nuttig (280) Lees meer

Beoordeling

Laat ons weten wat je van de Oregon IWA-80055 Weerstation vindt door een beoordeling achter te laten. Wil je je ervaringen met dit product delen of een vraag stellen? Laat dan een bericht achter onderaan de pagina.
Bent u tevreden over de Oregon IWA-80055 Weerstation?
Ja Nee
Beoordeel dit product als eerste
0 stemmen

Praat mee over dit product

Laat hier weten wat jij vindt van de Oregon IWA-80055 Weerstation. Als je een vraag hebt, lees dan eerst zorgvuldig de handleiding door. Een handleiding aanvragen kan via ons contactformulier.

Handleiding Oregon IWA-80055 Weerstation

Gerelateerde producten

Gerelateerde categorieën

×
Download